We may receive a commission when you use our affiliate links. However, this does not impact our recommendations.

Slöyd Knife and Sheath
I have used a slöjd (or slöyd) knife for decades. Fitting them with a handle of your own making is pretty simple, and quite rewarding. You can tailor the handle to suit your hands and/or your eyes. I start with a knife blade made by Morakniv. They have several sizes and shapes, and their #106 is a favorite of many carvers the world over. I use the laminated steel version; it’s easy to sharpen, but holds an edge just fine.
Making the Handle
I’ve made handles from many different woods, often using figured maple. The past few knives I’ve carved designs in the handles, so I want no figure to compete with the patterns I’ve planned. I’ve gone for softer hardwoods like birch, or in the case of the knives here, butternut. The stock I use is riven and air-dried. Cut the handle blank just shorter than the knife’s tang.
I lay out centerlines around the blank horizontally and vertically. I start with stock that is oversized and only roughly shaped. Stand it up in a vise and bore a hole through it from end to end. This hole matches the small end of the tang. I come in from each end and hope to meet in the middle. I trace the tang’s outline on the side of the handle. Using the same bit, I bore holes above and below this first hole, to widen the opening at the top of the handle.
Once I’ve widened the holes enough I grip the blade in locking pliers and drive the handle on from below. I sit the blade in a dog hole on the bench for this step.
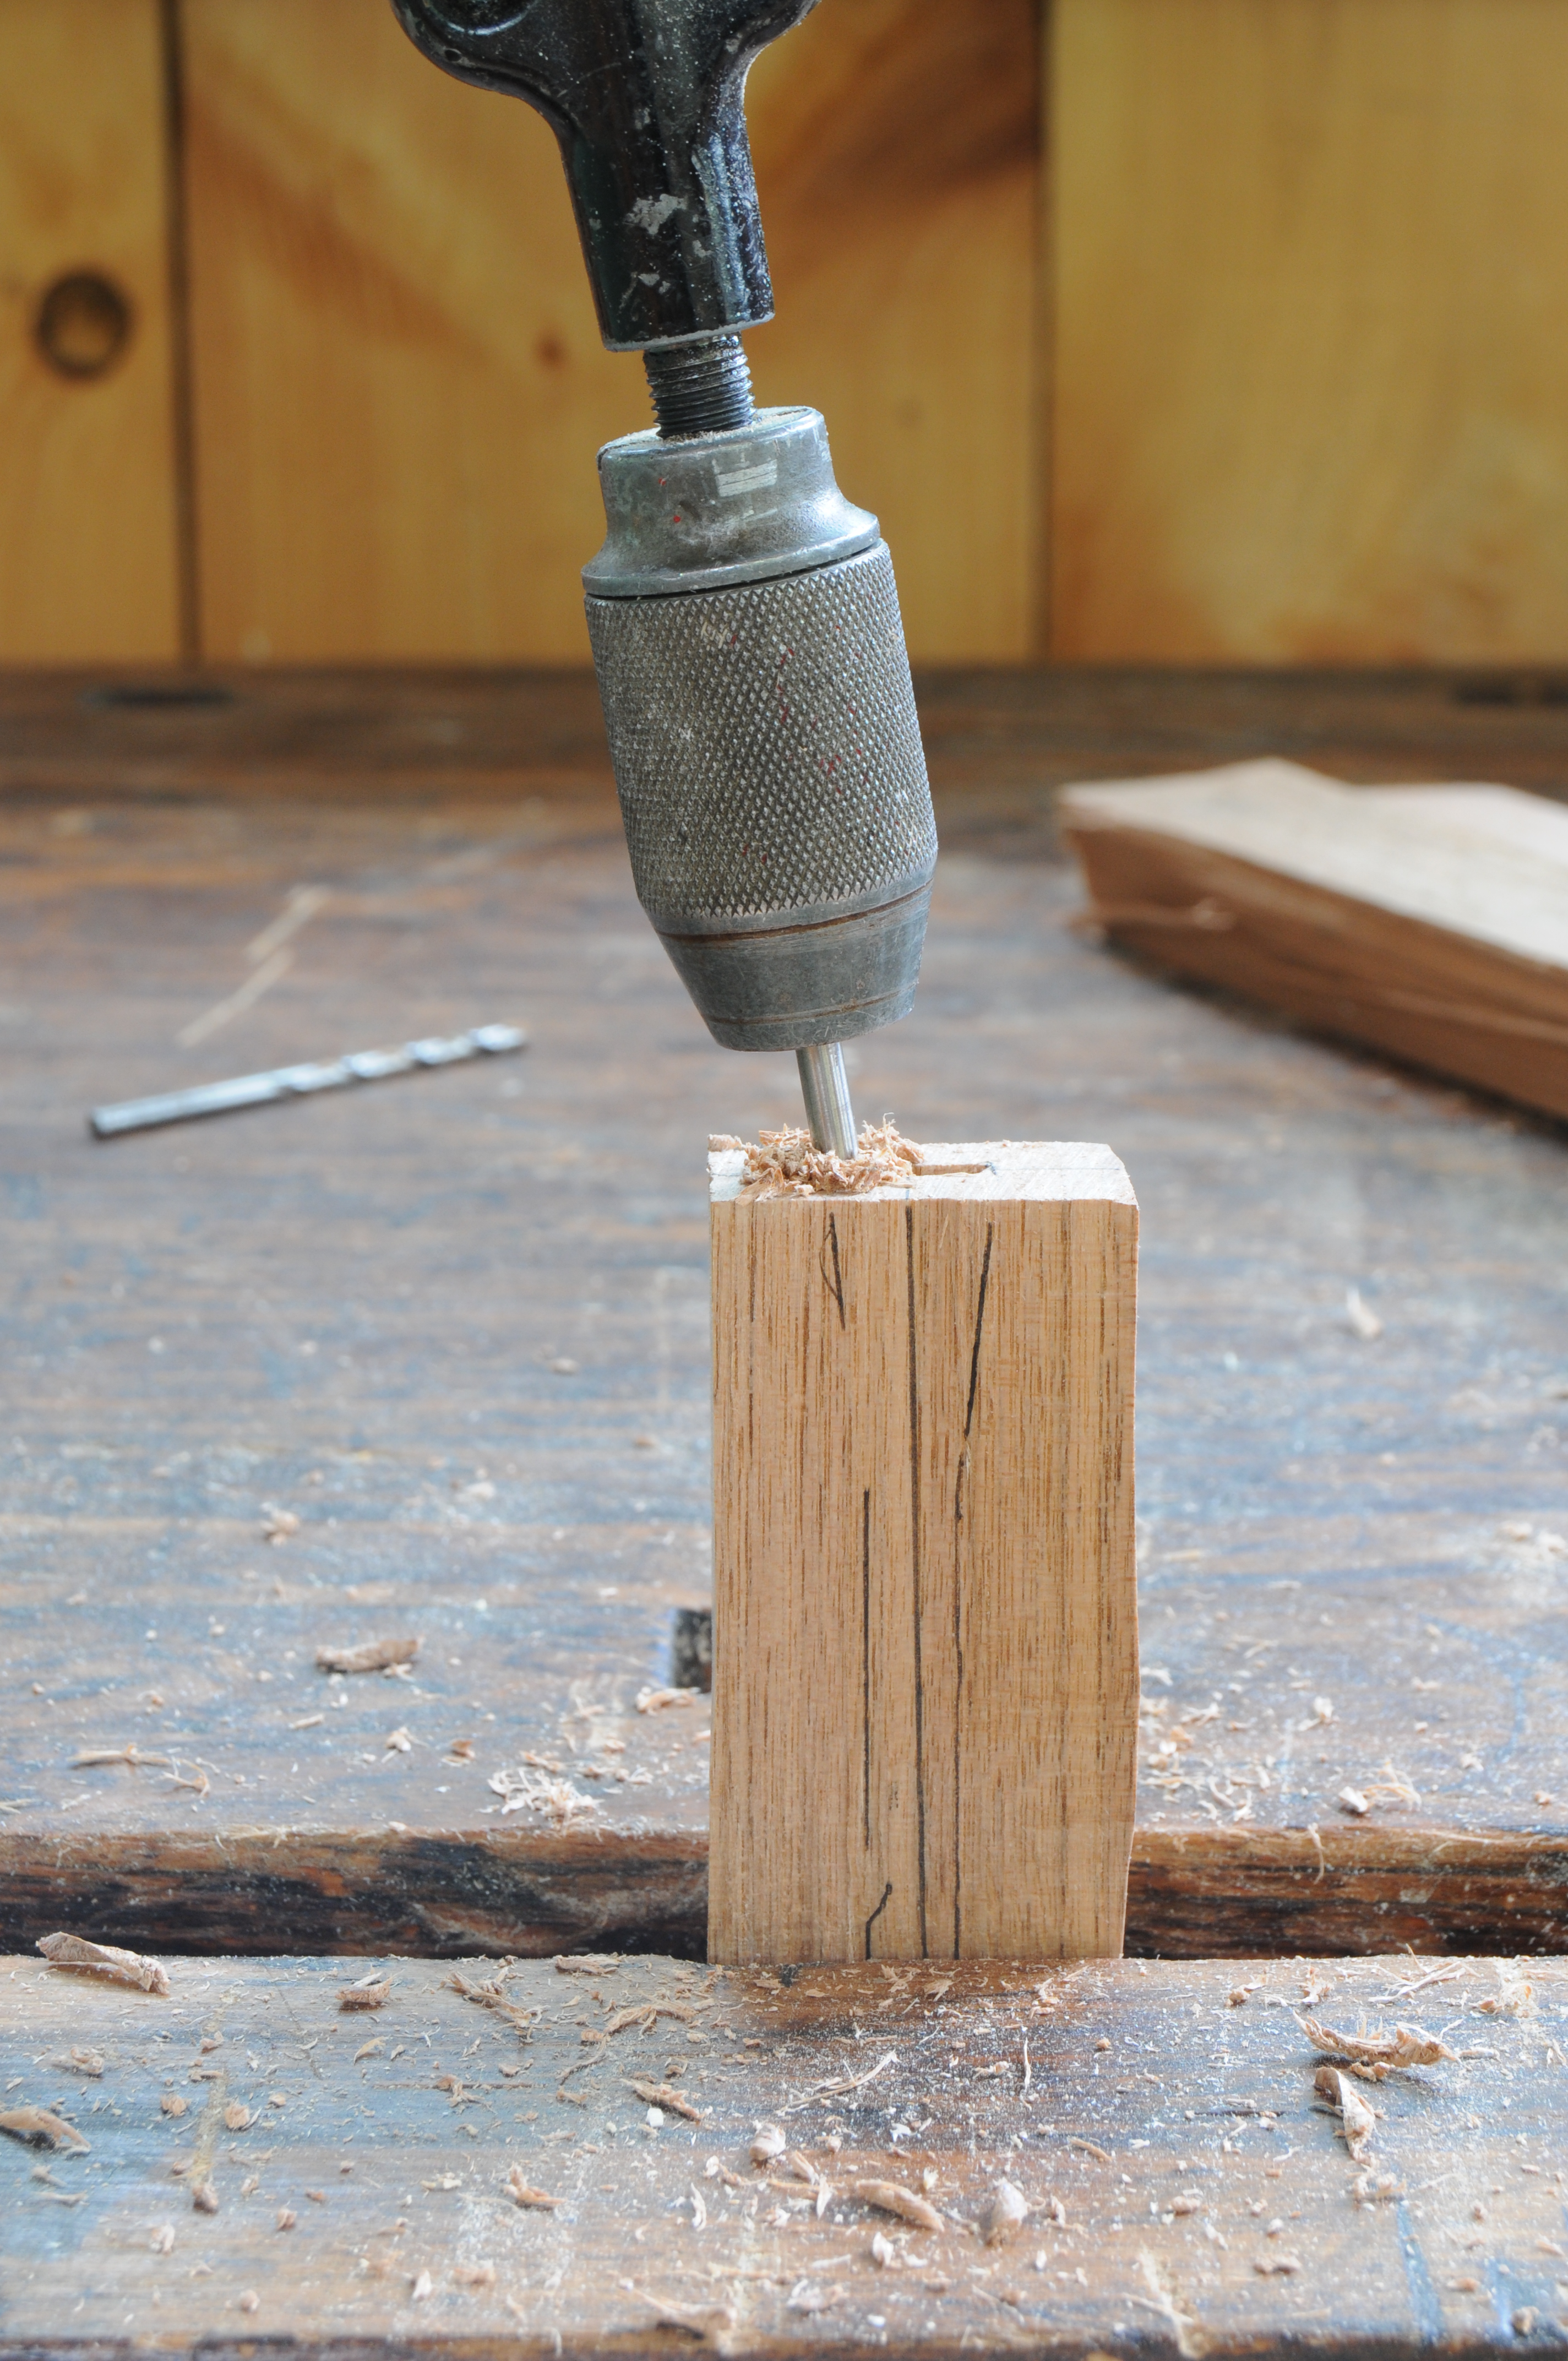
Make the opening. I use an egg-beater drill and eyeball its relationship to the centerlines marked on the blank. Then I mark the outline of the flared tang on the handle blank. I tilt the bit over as I crank the drill to widen the opening for the tang.
To shape the handle, I work around the blank evenly. Start by beveling each corner, working from the mid-point toward the handle, then reverse things and cut down toward the end. I start with a long-bladed paring chisel, sometimes with its bevel down to get a bit of a scooping cut. Keep testing the way the handle feels in different grips. It’s easy to leave it too thick and bulky. Fine-tune the shape with a slöyd knife. In all this work, be extra careful not to hit the blade with your edge tools, it’s bad for both of them.
Mount the knife blade in a machinists’ vise and gently peen the protruding tang across the end of the handle. Glancing blows from the hammer will spread the tang.
You can drive small wedges into the spaces around the blade. Make the wedges slight enough so they will not split the handle. While you’re working that spot, you can also lightly bevel around the ends of the handle.
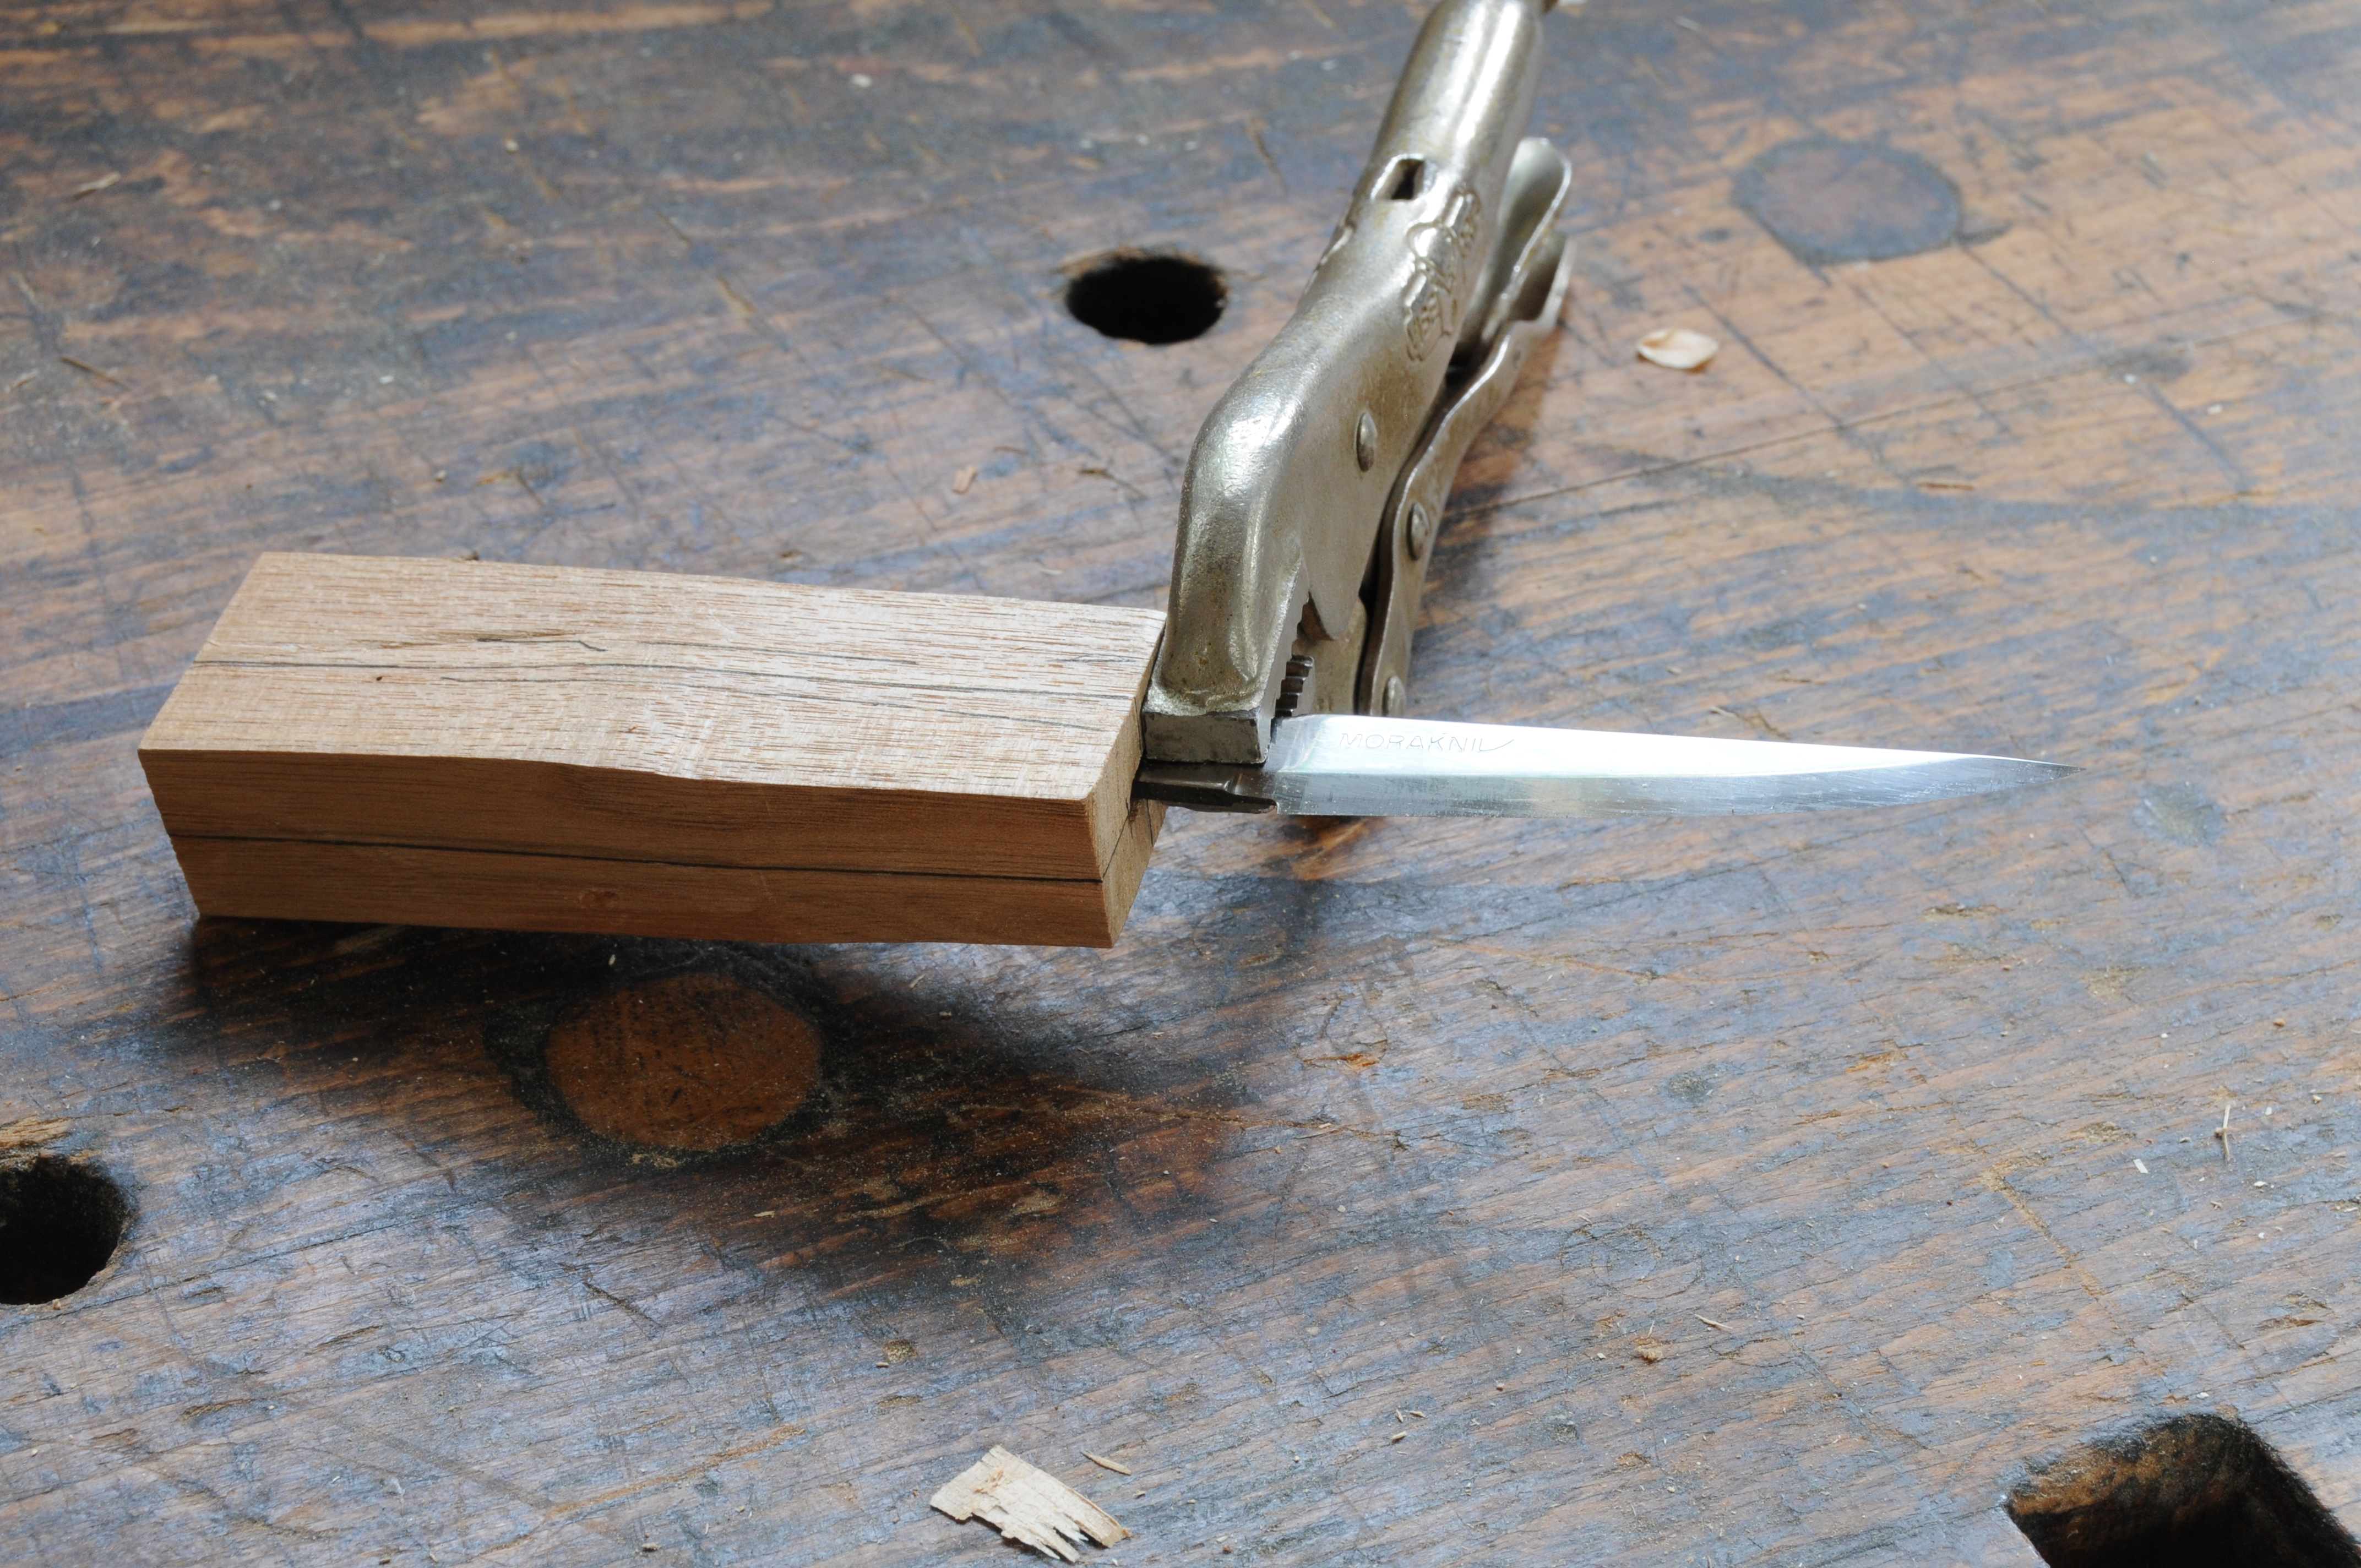
Assemble. I start with the pliers on the upper end of the tang, and drive the handle most of the way on. Then I wrap the blade with duct tape and reposition the pliers for the last 1⁄2″ or so. Drive the handle on so the tang exits just a bit at the bottom end of the handle.
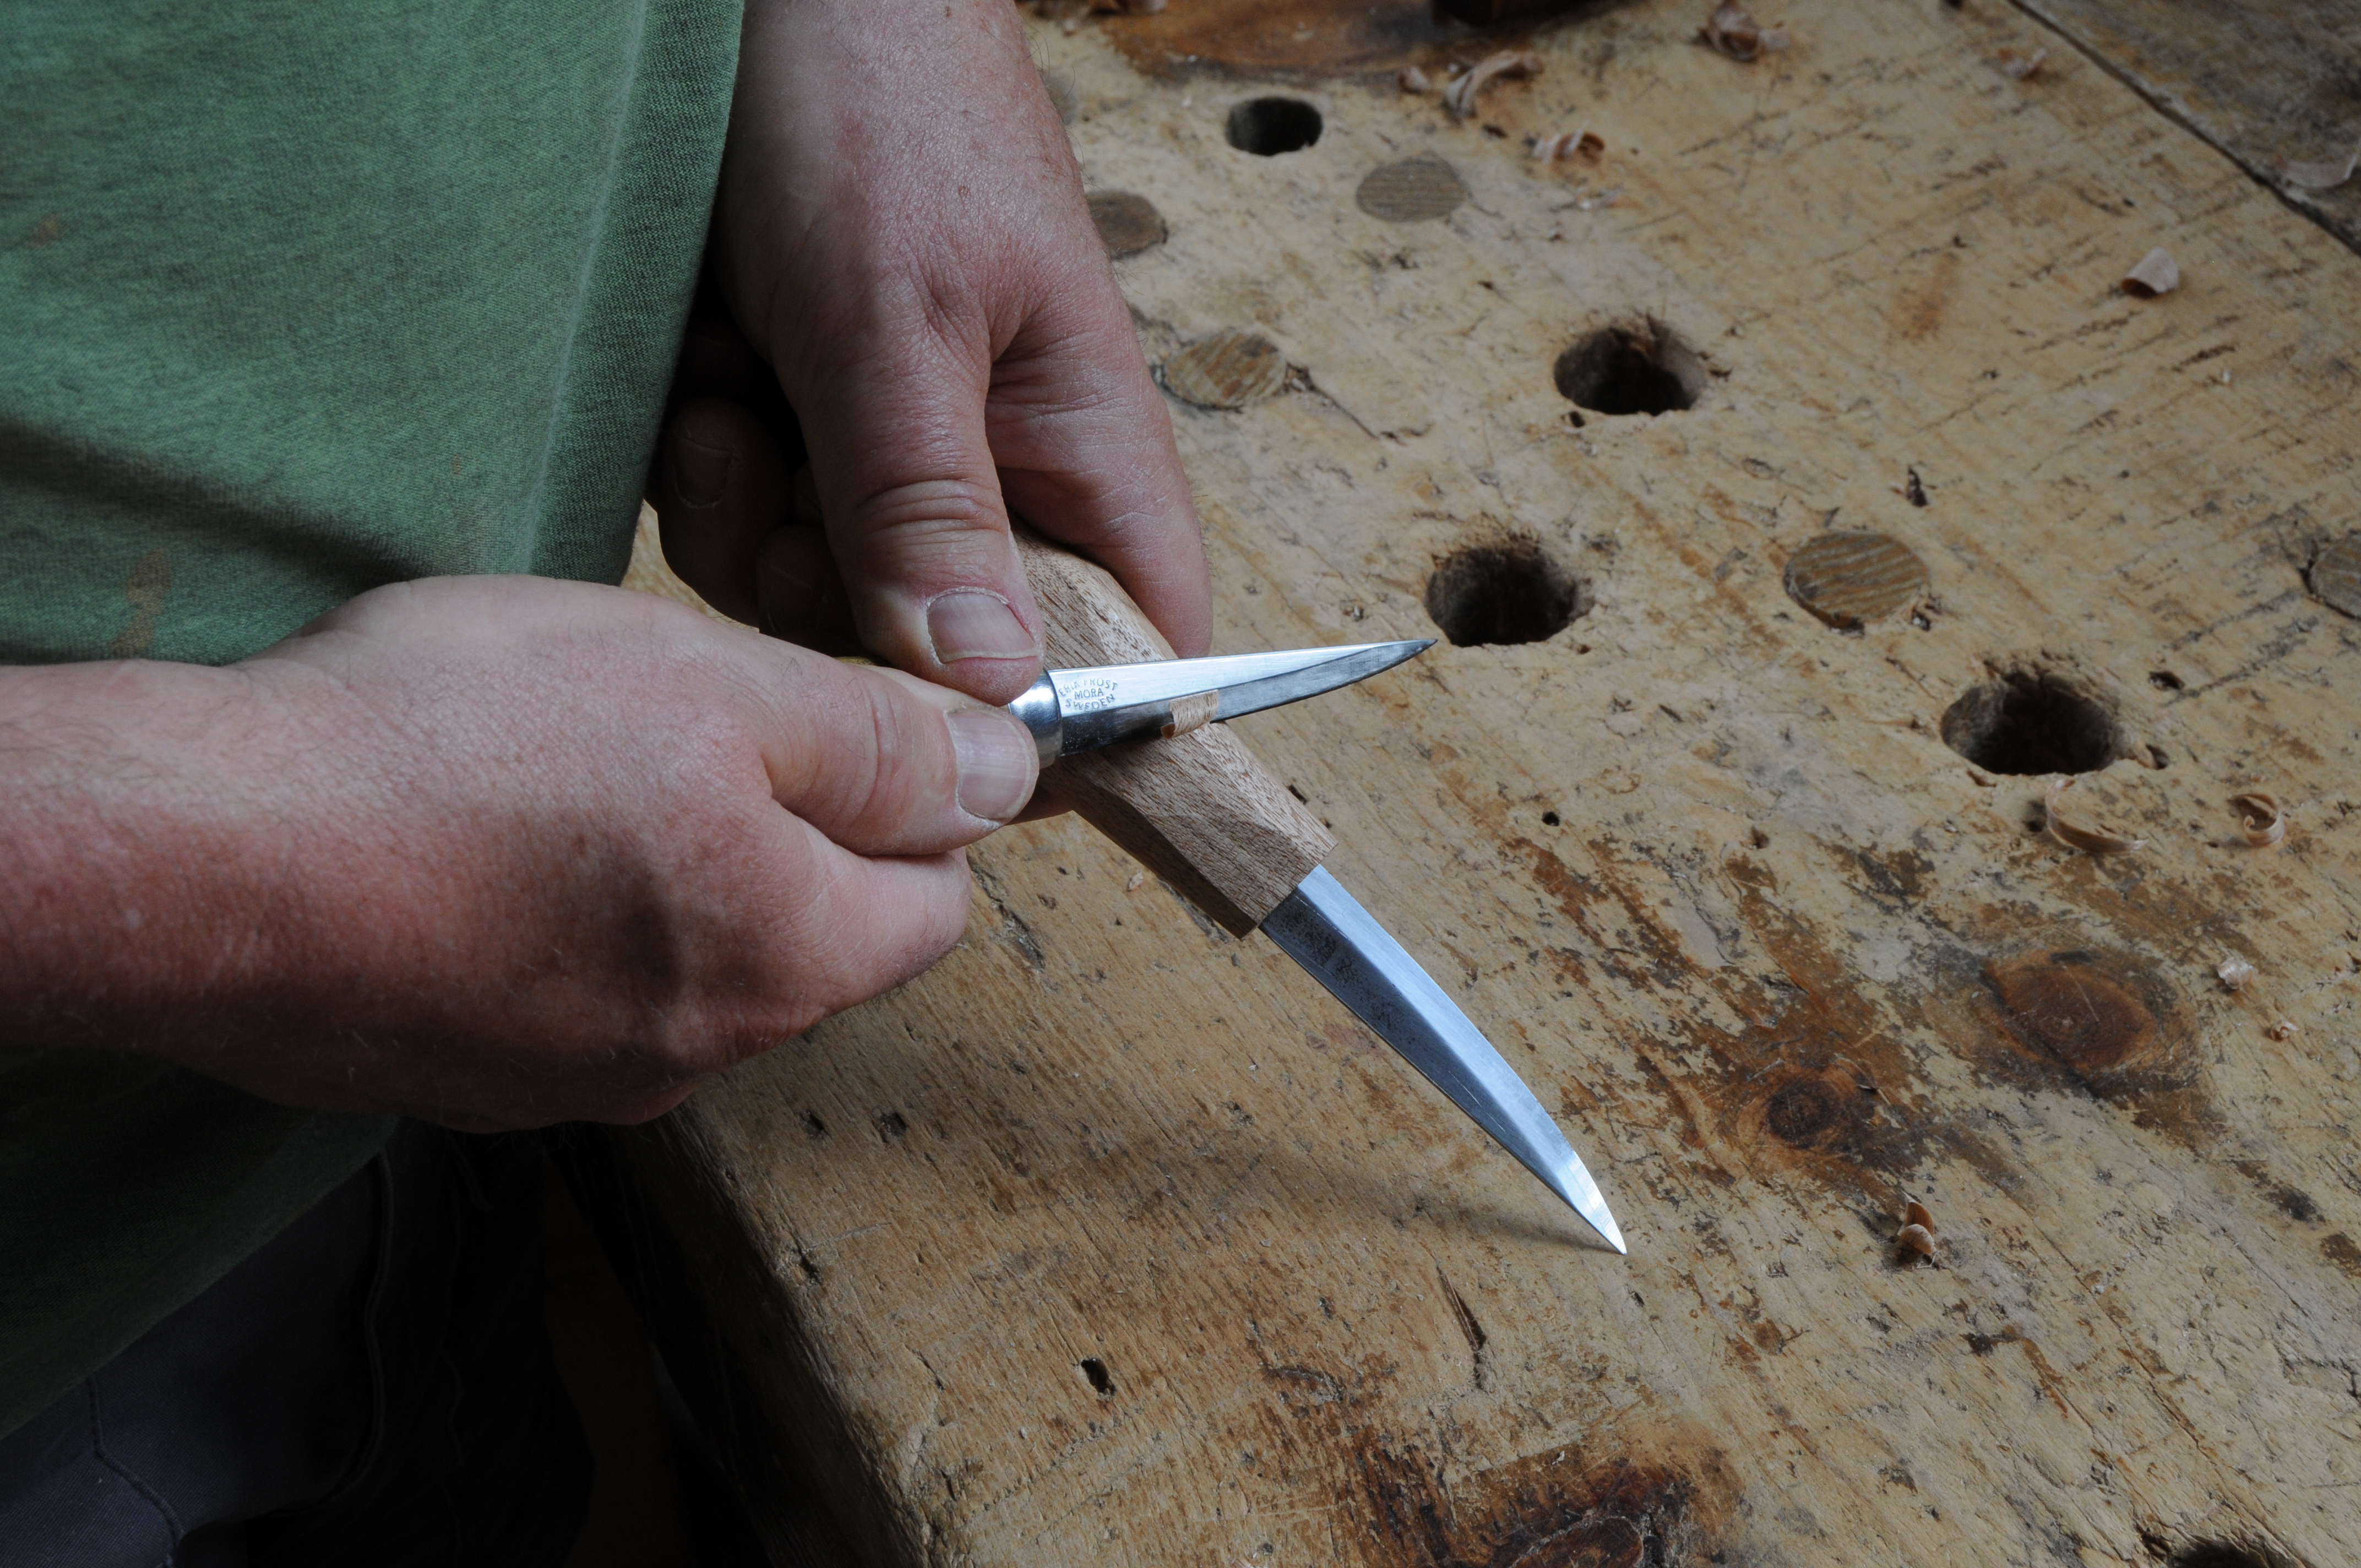
Shape with another knife. Lightly pare with the slöyd knife. Keep alert to not hit metal with metal.

A little metal work. Peening the tang across the end of the knife handle is as much metal work as I want to do.

No glue required. I don’t bother gluing the blade into the handle, nor the wedges, but gluing won’t hurt. The bevel around the handle’s end is carefully cut with the tip of a slöyd knife.
Making the Sheath
To make a sheath for the knife, I use strips of birch bark. Other bark–hickory, basswood/linden, elm and more – has all been used in one place or another. I have also used basket splints of both ash and oak for the same sort of sheath.
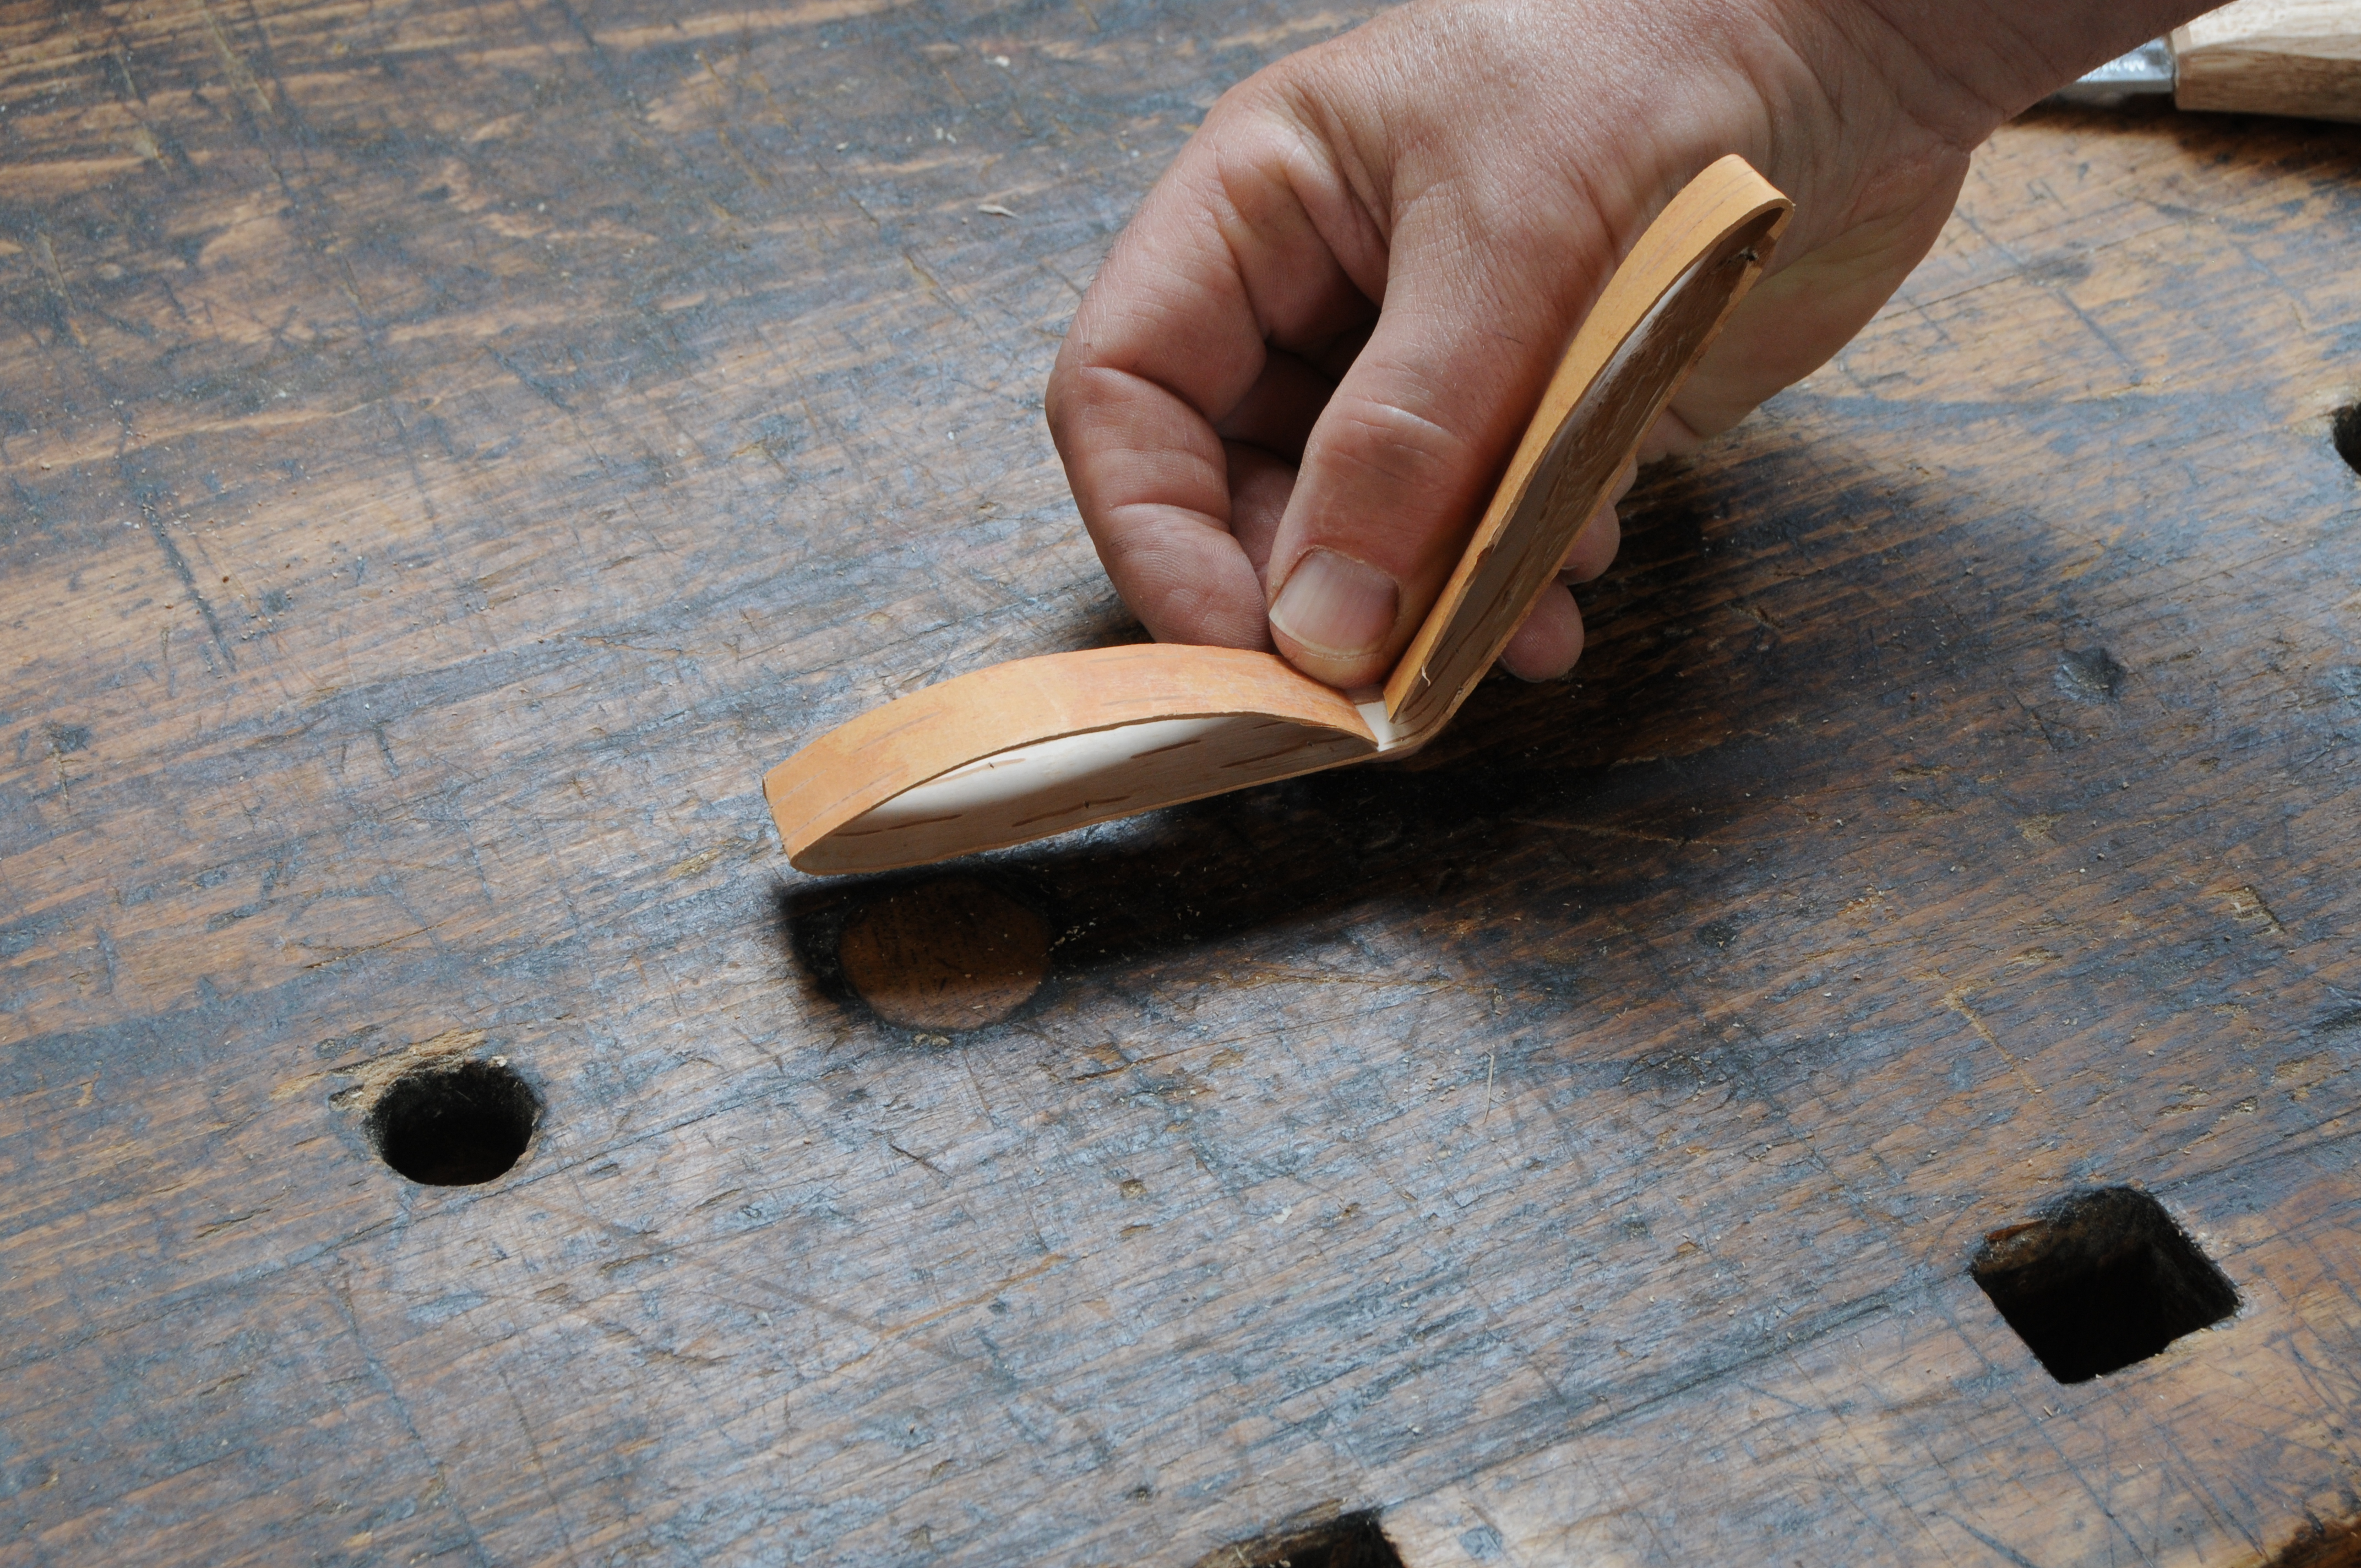
Bark. The yellow side of the bark forms both the inside and outside of the sheath.
Make a strip wider than the blade, and four times its length. Fold it in half, and then fold the ends back to the middle, in on themselves. Next, slit one outside section in half. This slit just runs from one fold to the middle fold. It helps simplify the weaving.
The weaver is a long thin strip of bark, with one end tapered in width. Fold up the sheath so it’s closed, and slide the tapered weaver under one half of the slit section at the bottom of the sheath. Wrap it over the next bit, and then wind it into the opening on the other side of the sheath.
Weaving proceeds inside and out, over one section, under the next. Alternate over/under and inside/outside as you wrap around the sheath. Pull the weaver snug, but not too tight. Taper the weaver again as you get to the top, and pull it in tight to finish.
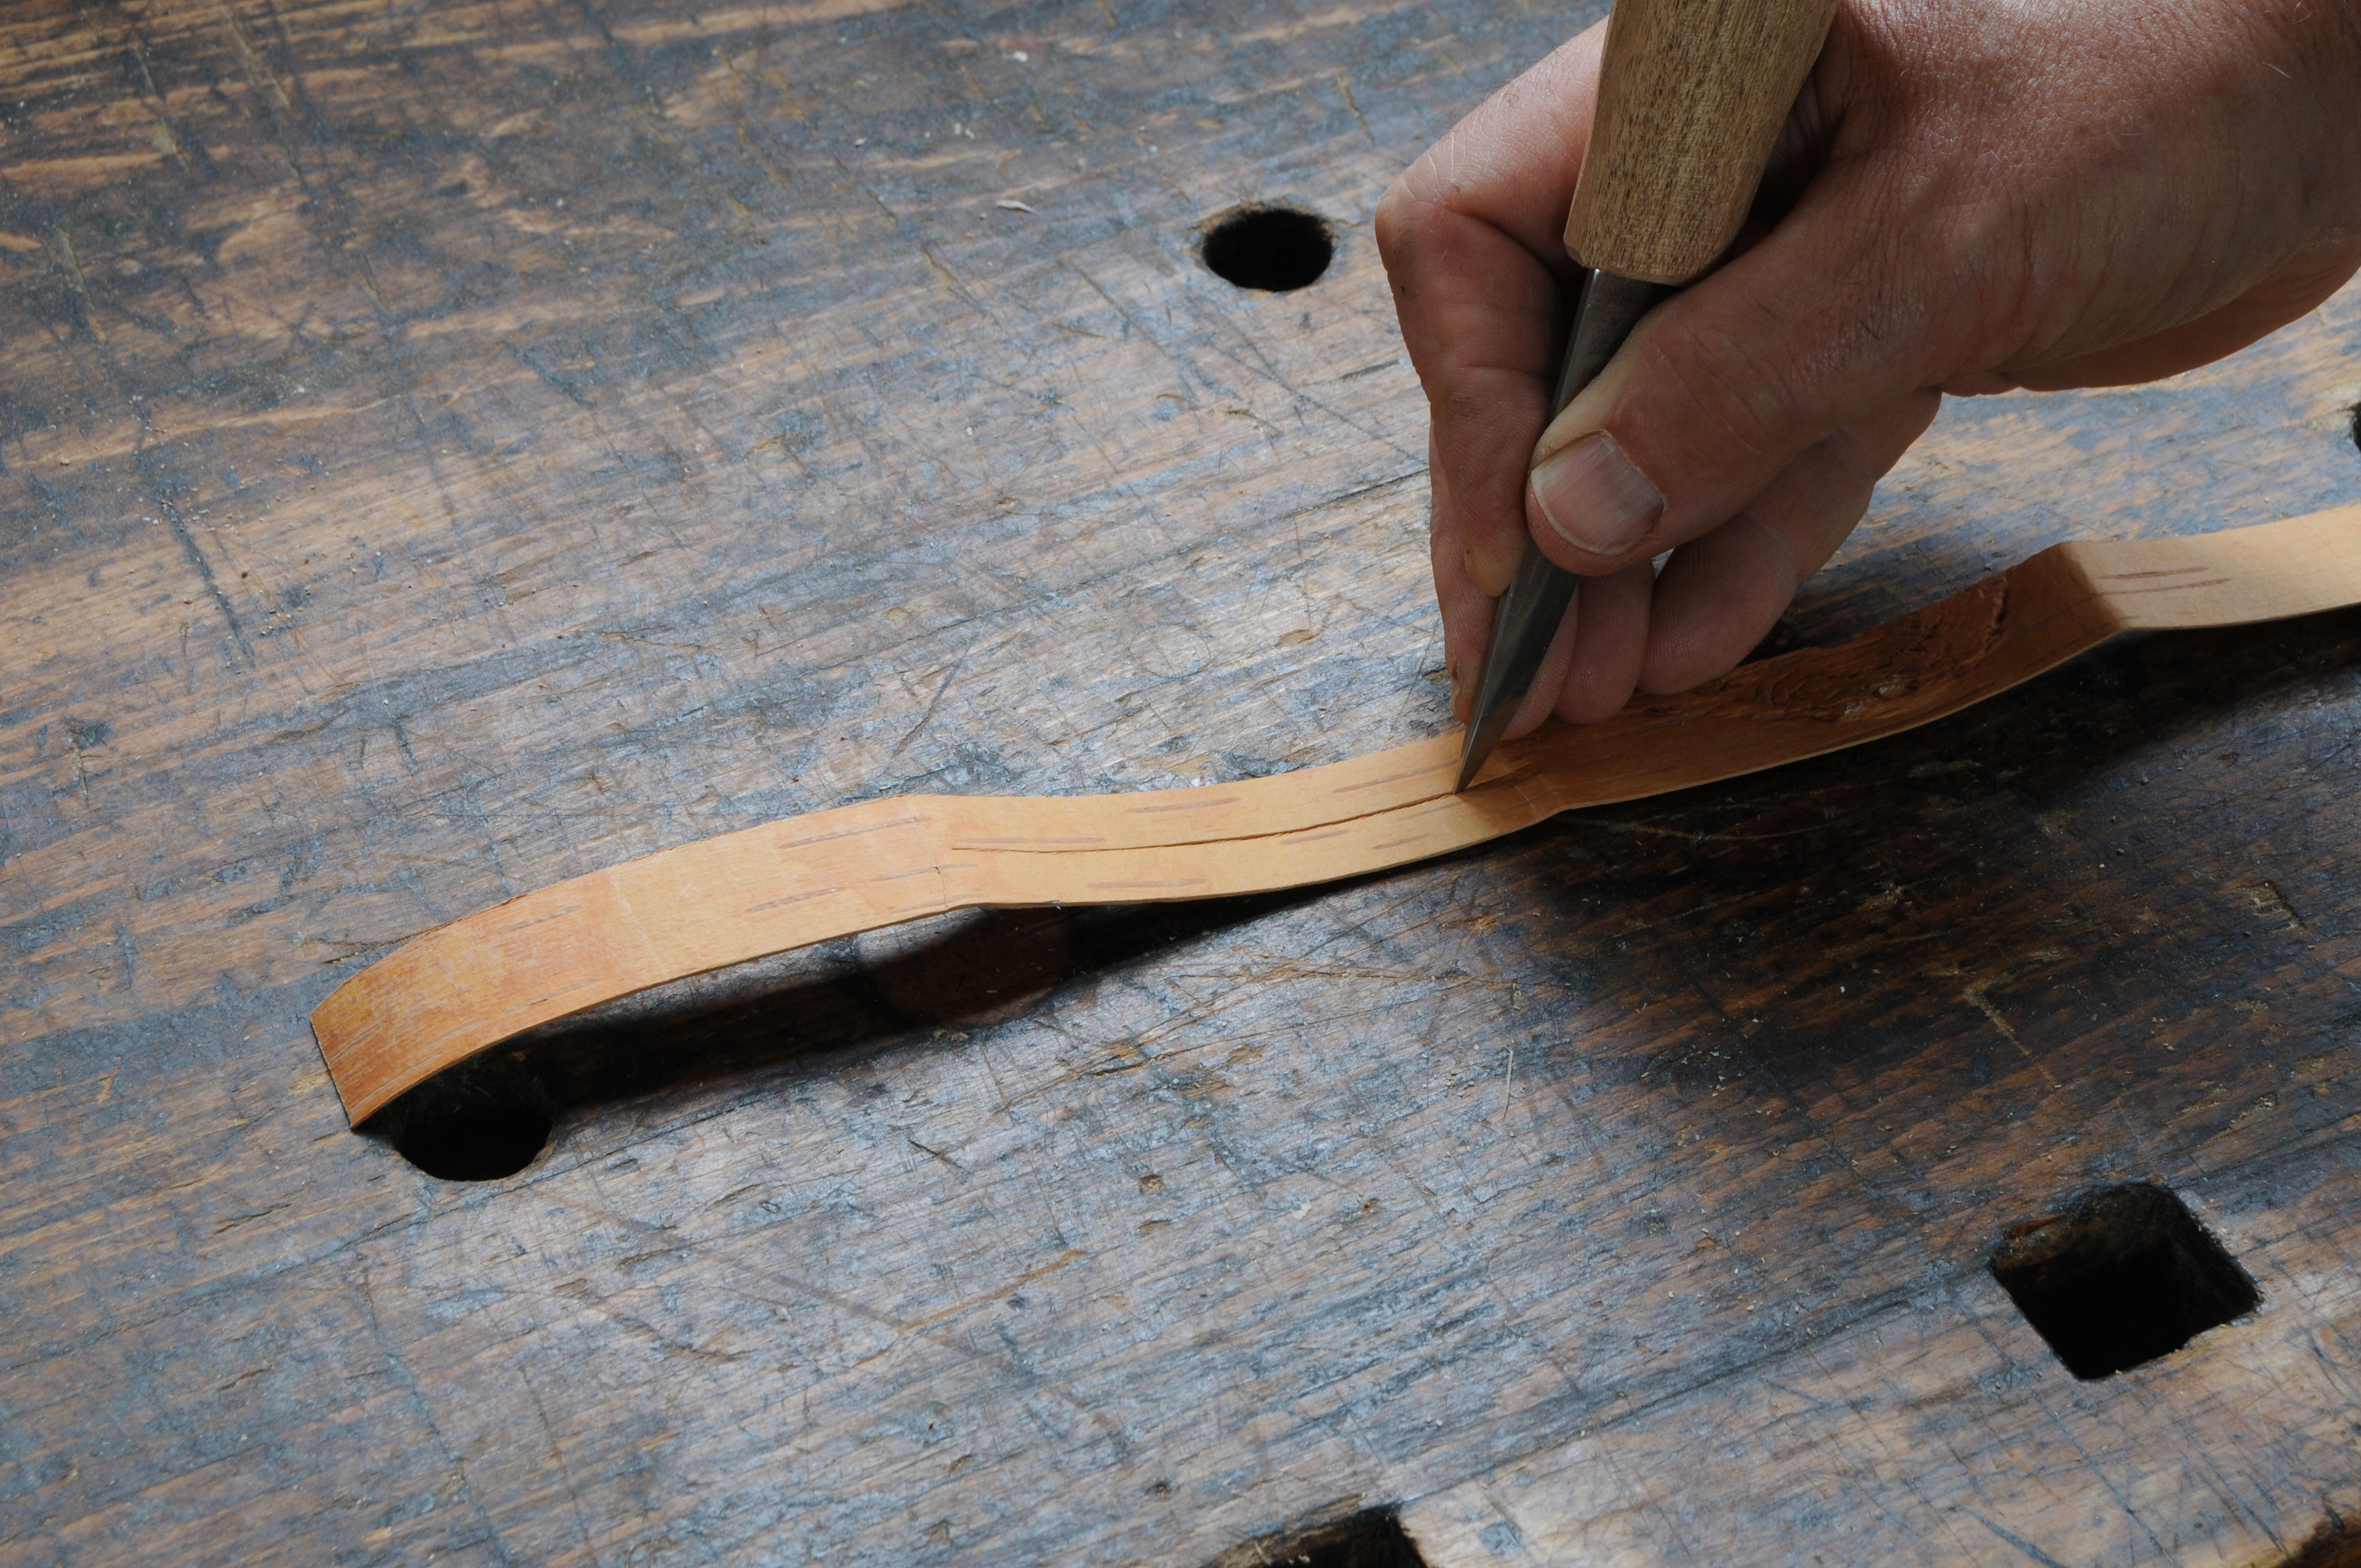
Slice the bark. Slice through the bark, just along one outside length.
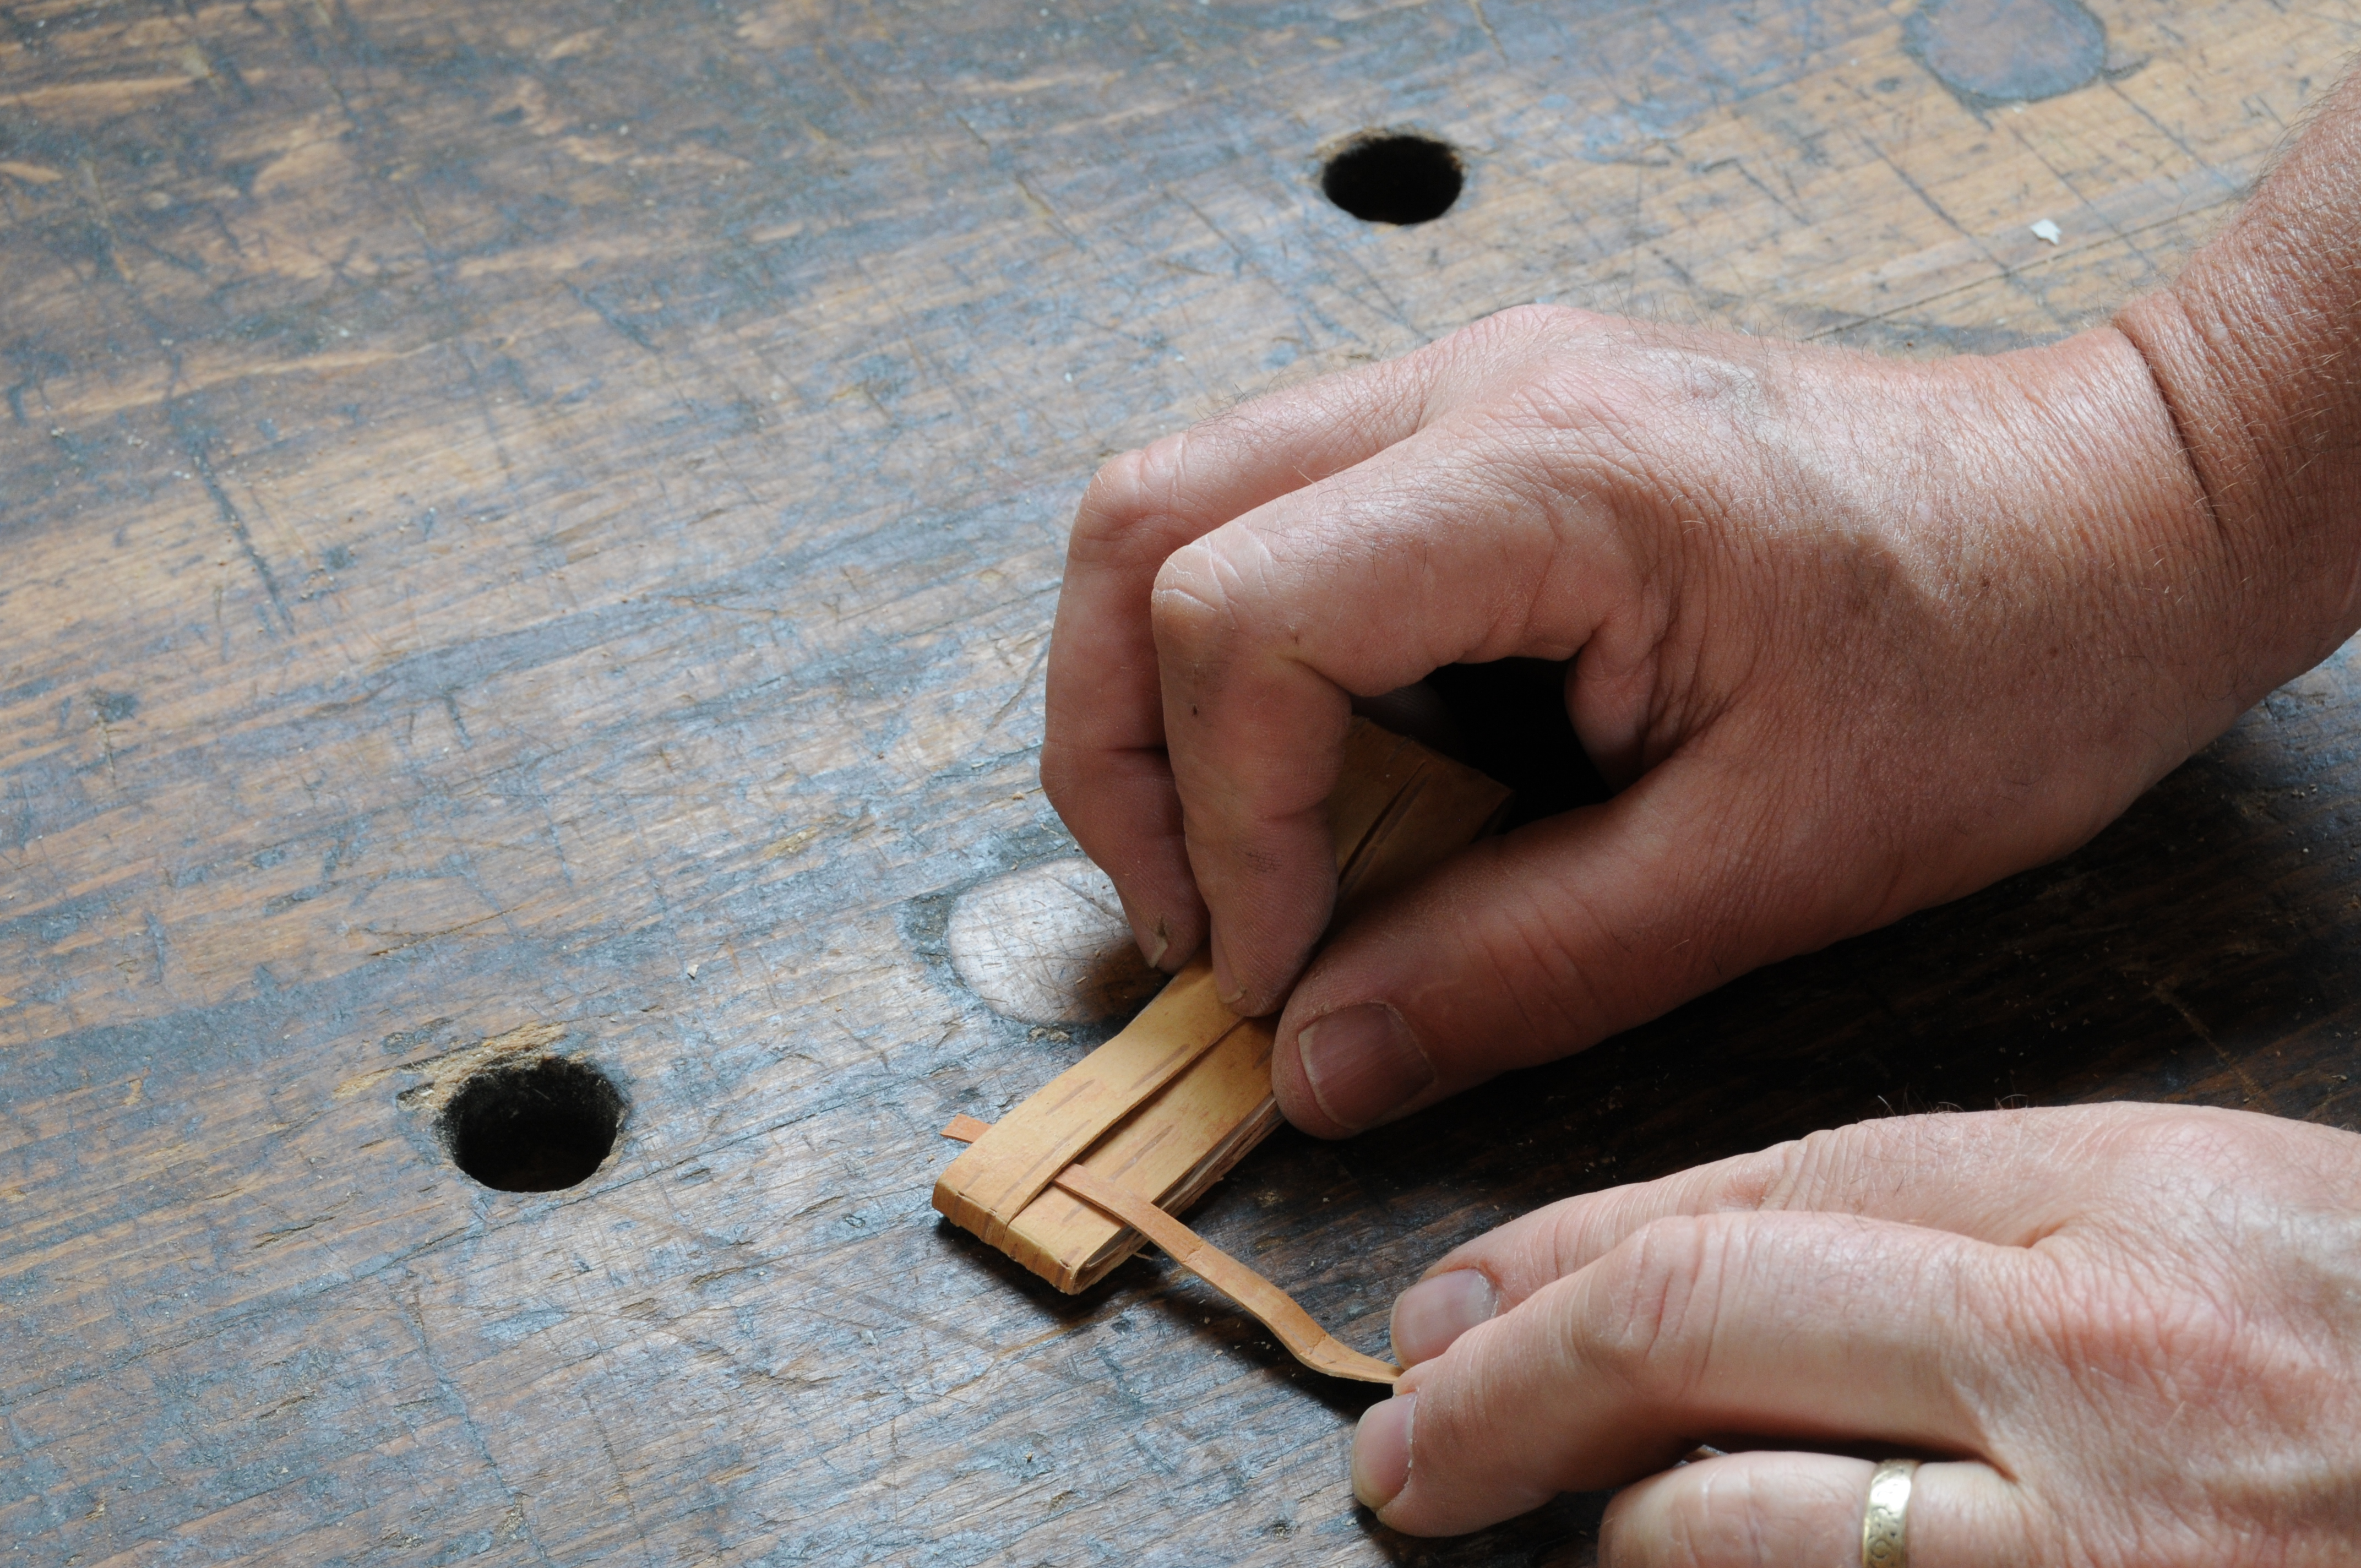
Weave. Start the weaver under one part of the slit section. Wrap it over the next part, then push it in tight to the bottom end of the sheath.
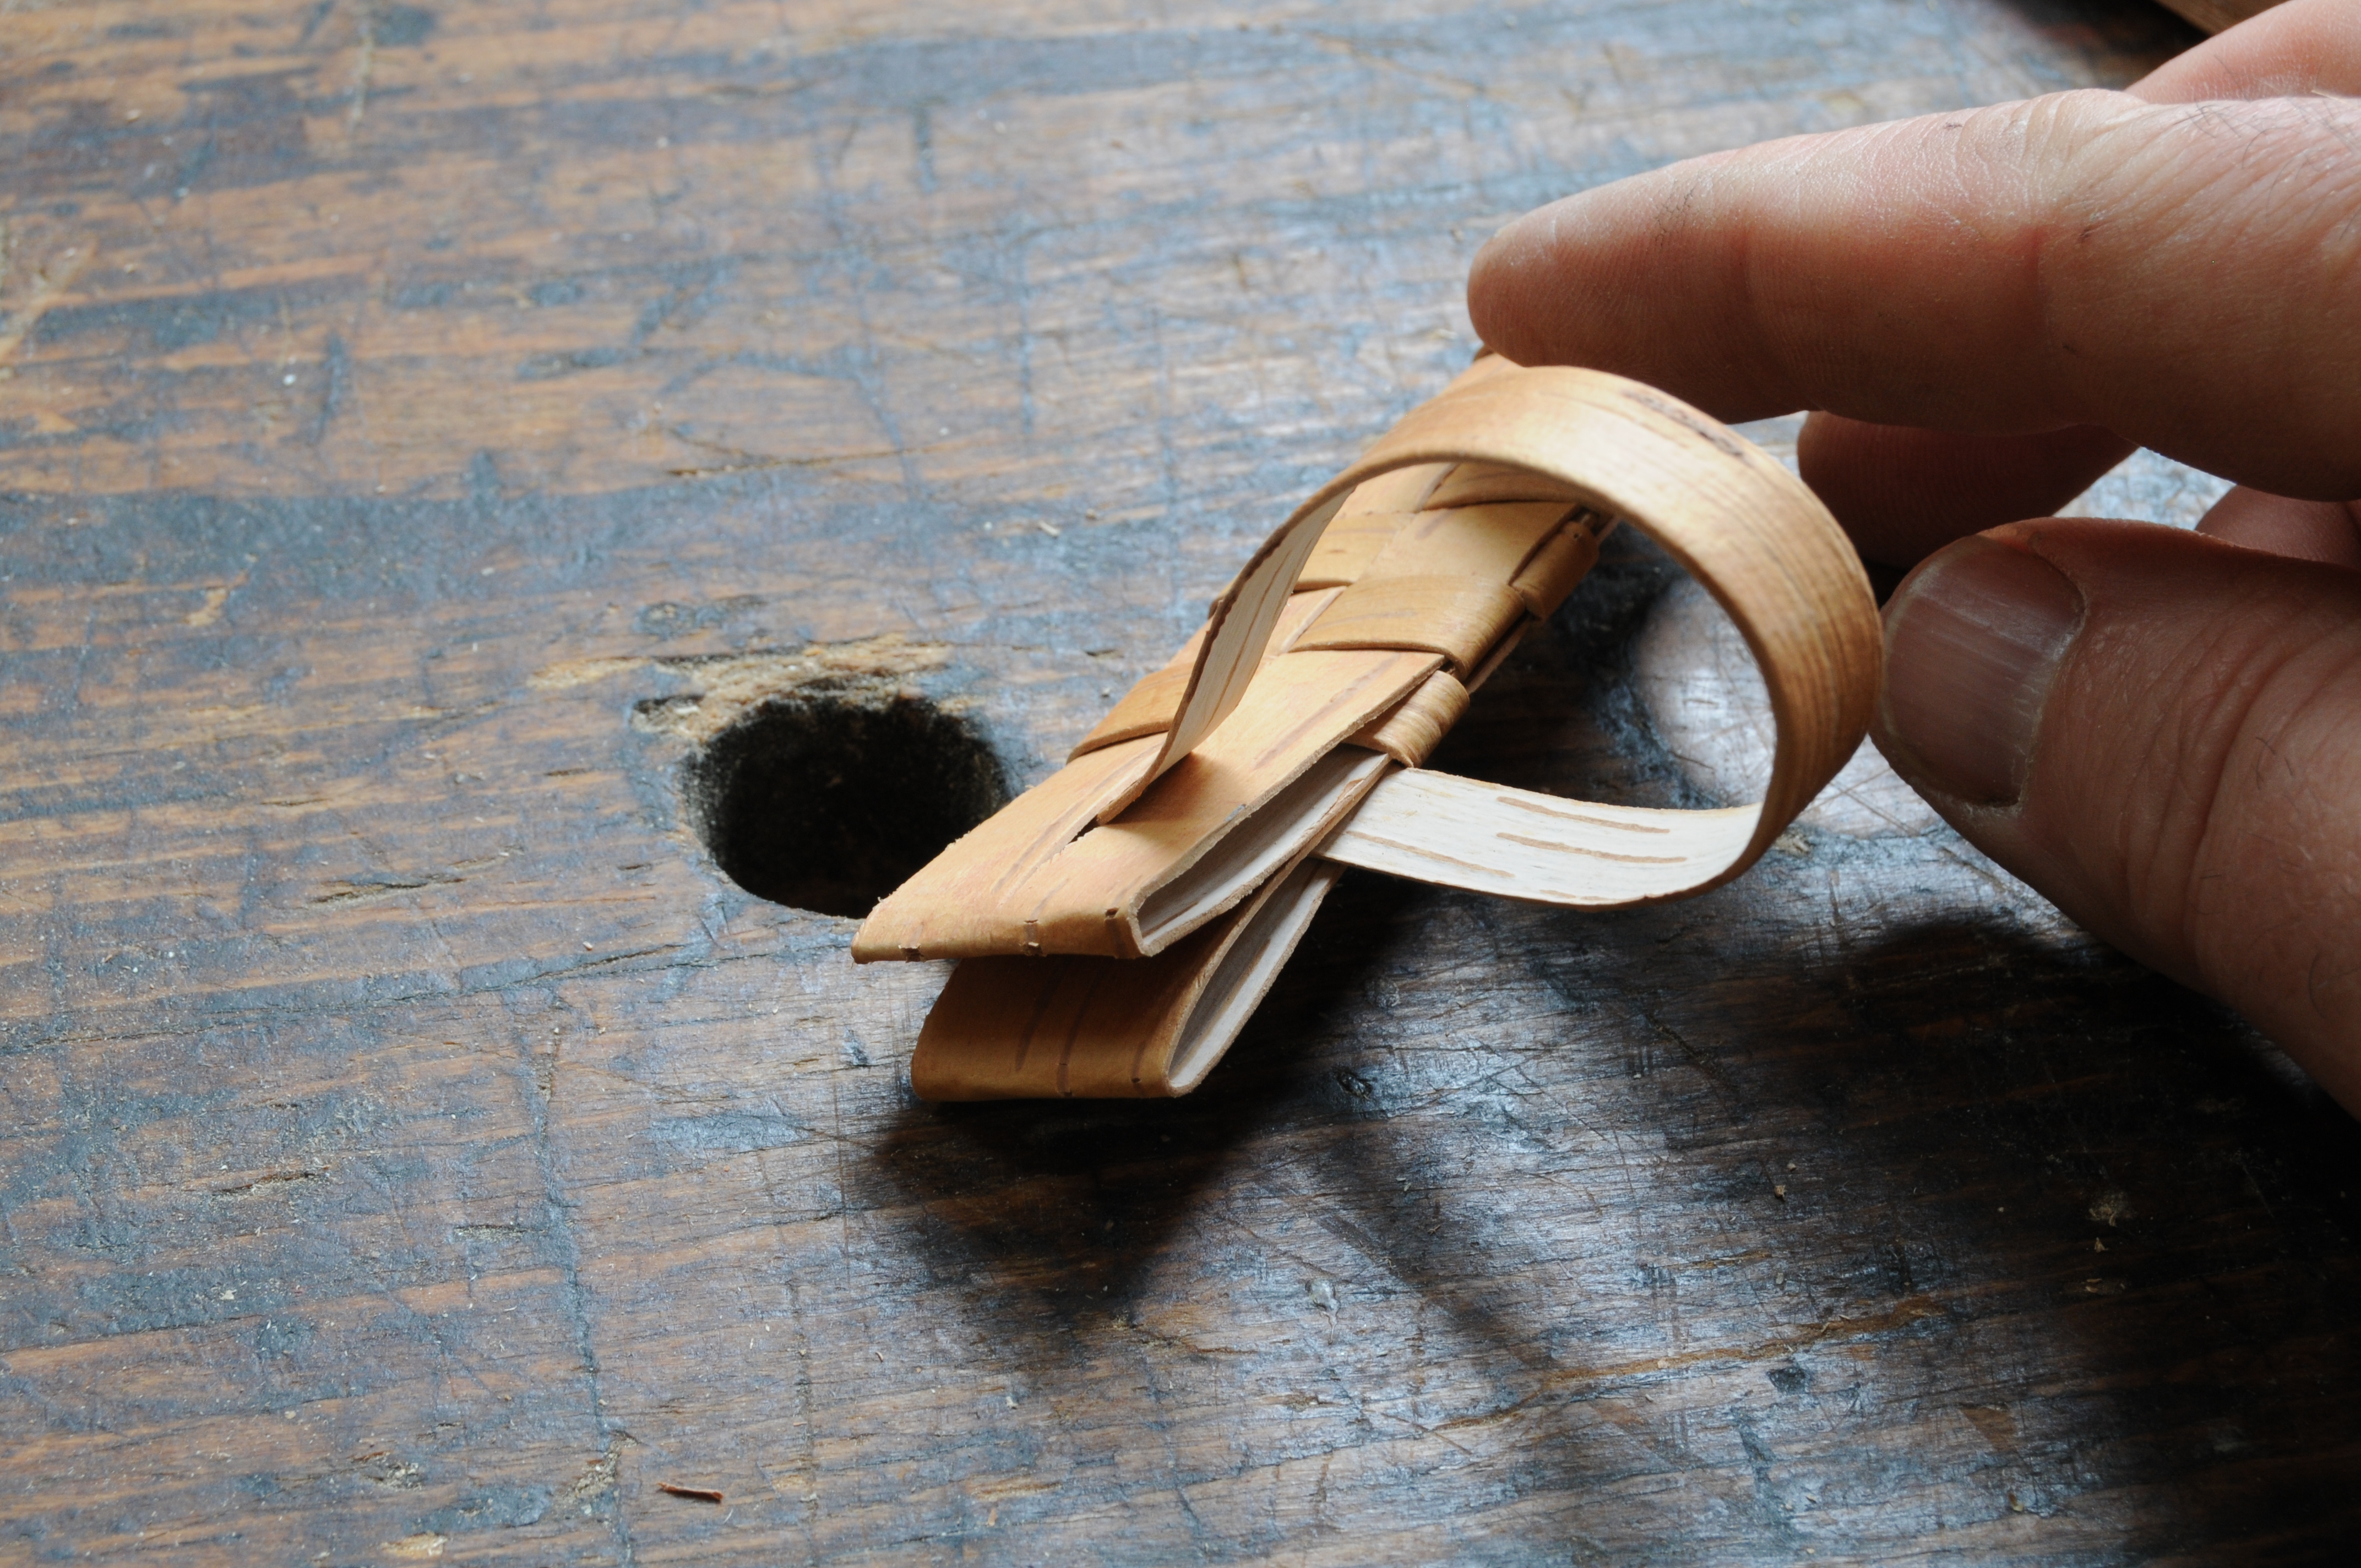
Fold and weave. Now it becomes clear how the inside of the sheath is created with this folding and weaving.
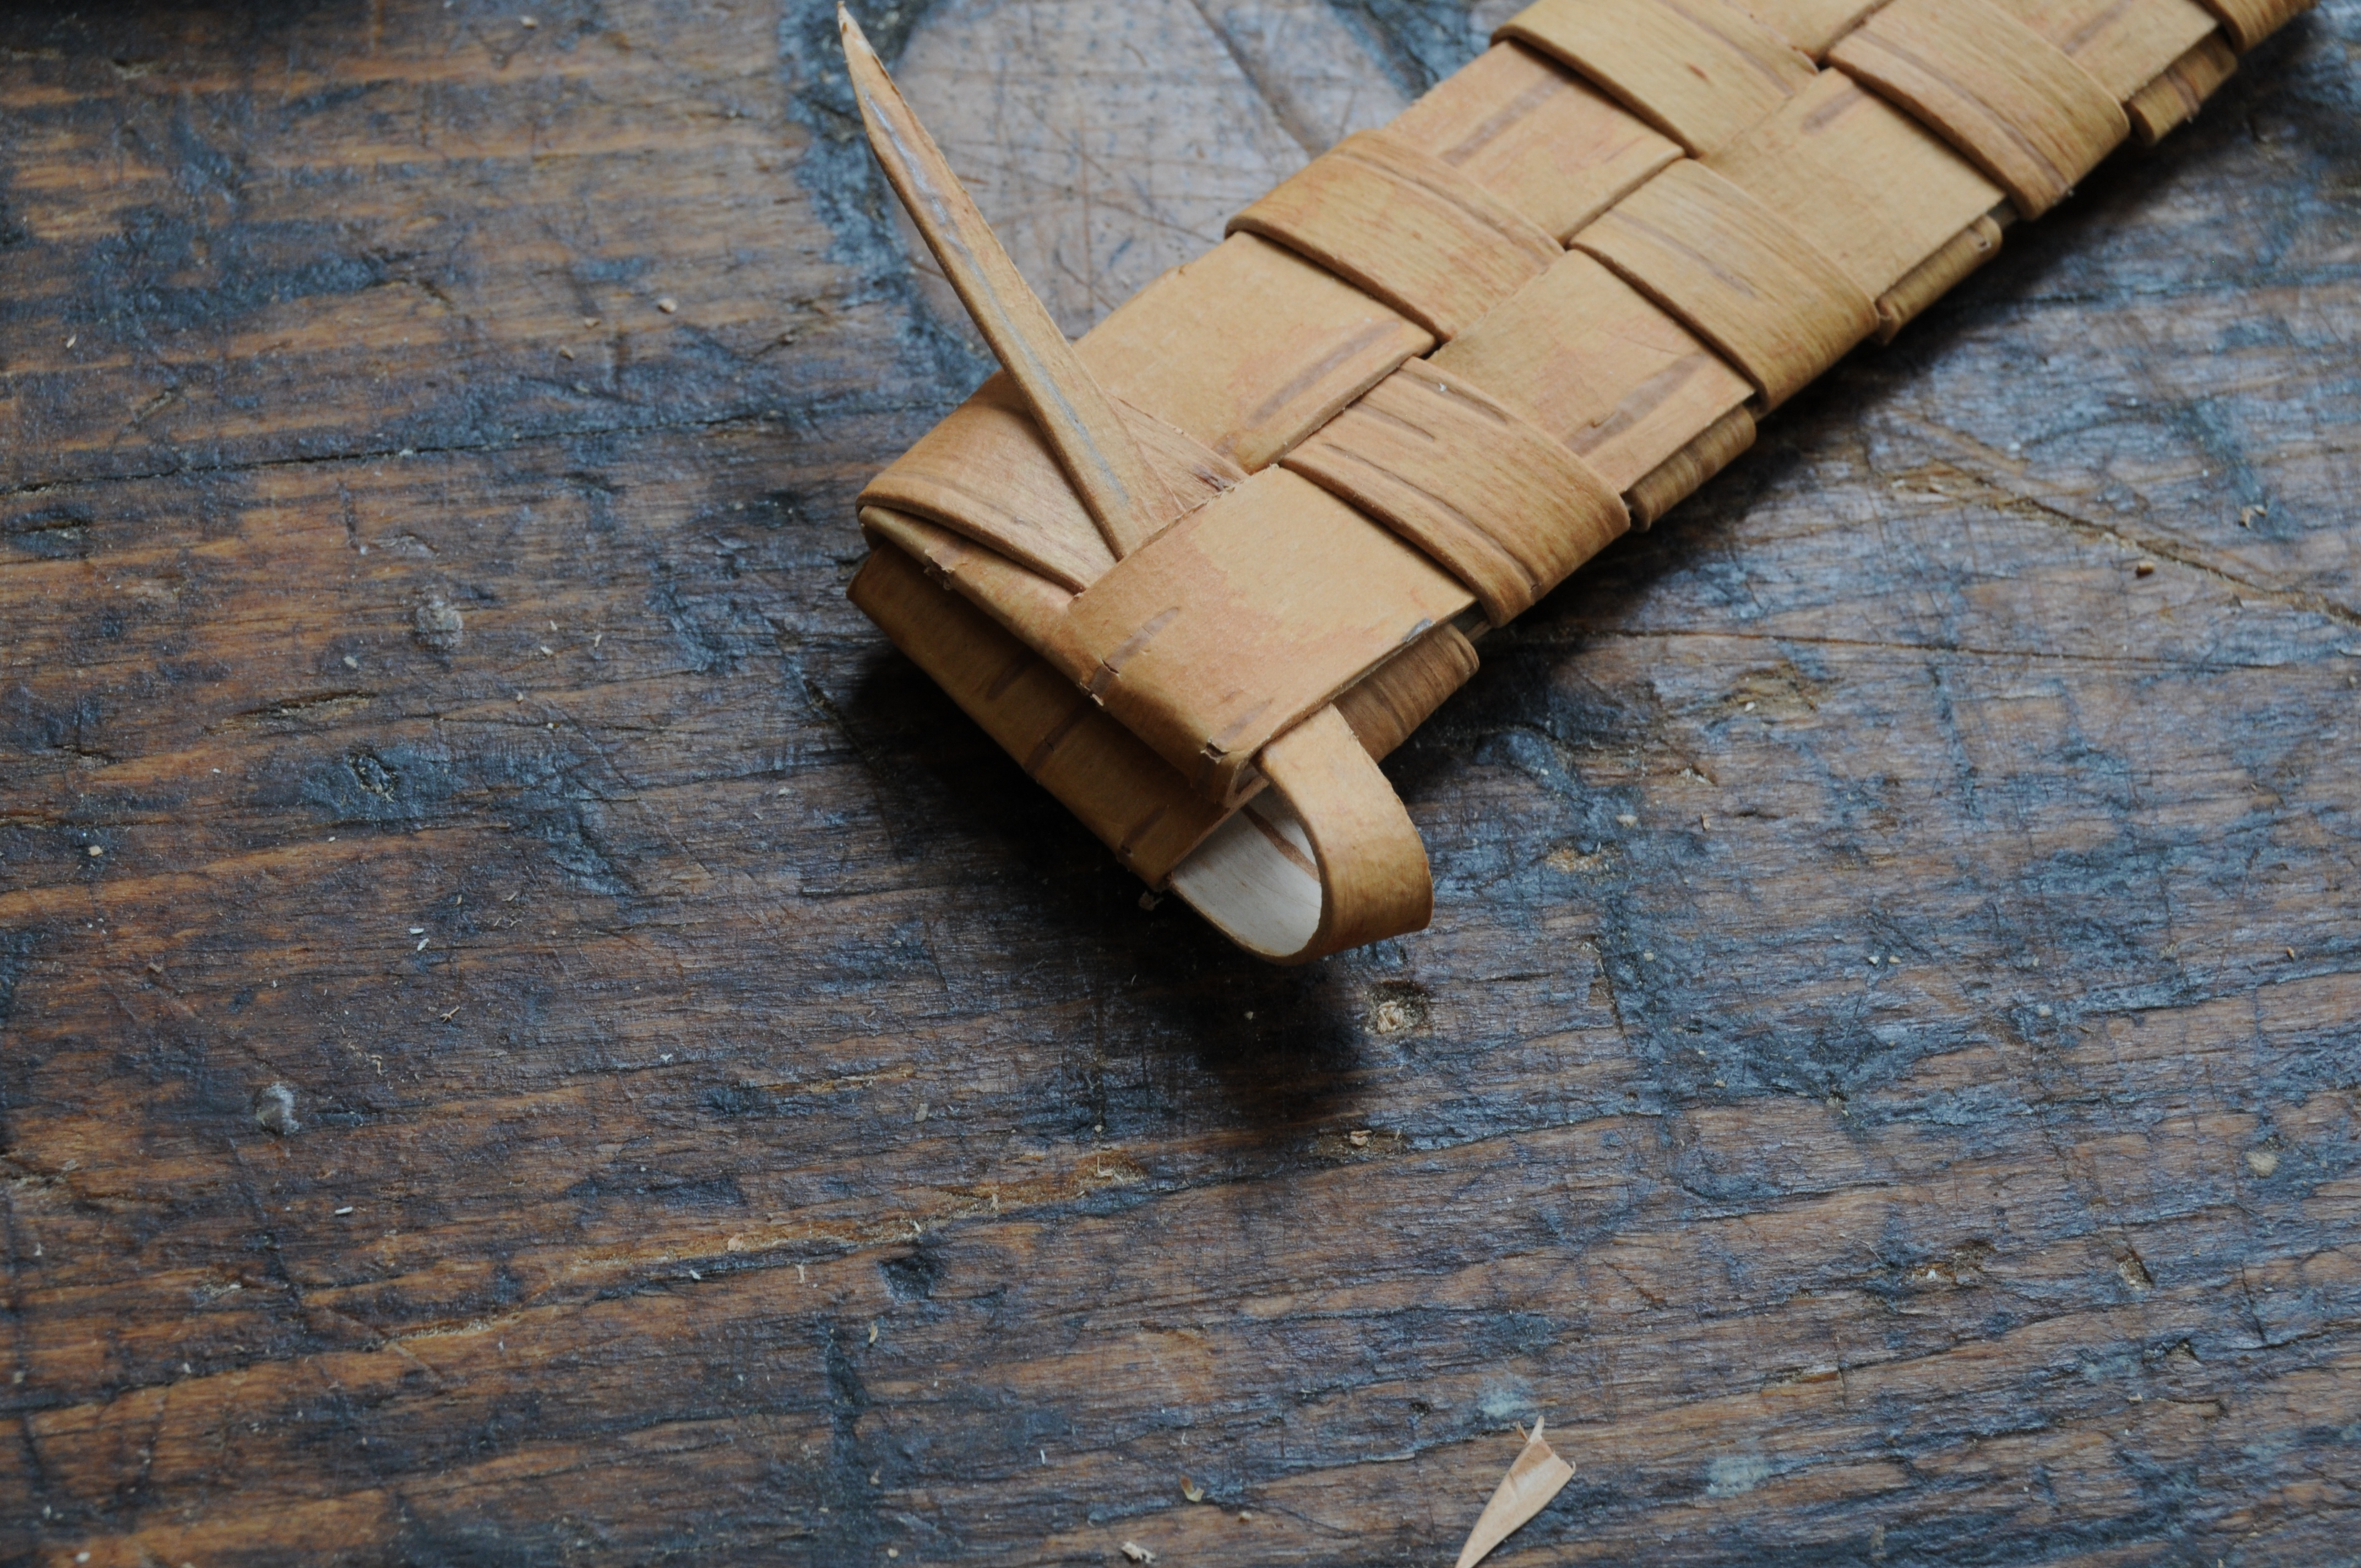
Slöyd knife and sheath – weaving detail.
Weaving proceeds inside and out, over one section, under the next. Alternate over/under and inside/outside as you wrap around the sheath. Pull the weaver snug, but not too tight. Taper the weaver again as you get to the top, and pull it in tight to finish.

If you’ve ever wanted your own custom knife for the kitchen or that next camping, hunting, or fishing trip, Make Your Own Knife Handles has you covered. All you need is this book and the knife kit of your choice.
With simple construction techniques, Make Your Own Knife Handles covers all the basics involved in making customized handles, including selecting the wood, prepping it for the blade, and assembling your new custom knife.
Here are some supplies and tools we find essential in our everyday work around the shop. We may receive a commission from sales referred by our links; however, we have carefully selected these products for their usefulness and quality.


![Bringing the 1955 Crescent Band Saw to Life! [Video]](https://www.popularwoodworking.com/wp-content/uploads/bfi_thumb/dummy-transparent-olcy6s63it1p9yp7uhusjas7c8kahafrhg9su7q9i0.png)