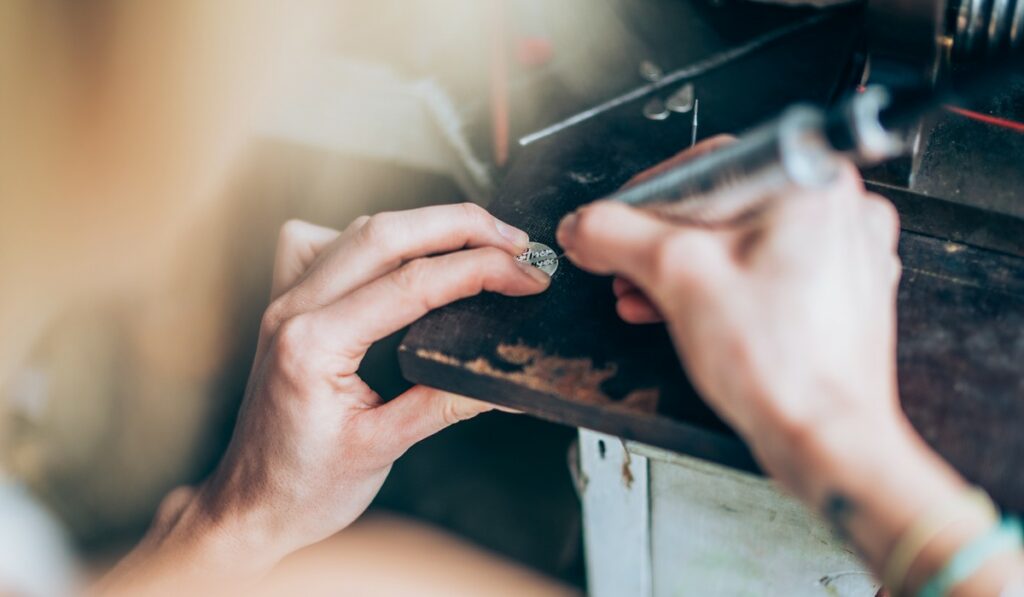
A Complete DIY Guide for Engraving Metal

Engraving metal is a fun and satisfying way to create memorable objects or gifts. It can be intimidating to think about etching into something durable like metal, but you’ll be pleasantly surprised by just how easy it is to engrave metal with the right tools and techniques.
In this guide, we’ll go over the basics of engraving metal so you can start creating beautiful and unique designs. We’ll cover everything you need to know to become a successful metal engraver, including choosing the best tools and understanding the different types of etching. We’ll even provide a few helpful tips and tricks to make the process simpler and more enjoyable. By the end of this article, you’ll be ready to start making your beautiful engravings.
Overview of Metal Engraving
Engraving metal refers to the decorative technique of making a shallow cut into the surface of a metal to create a design or pattern. It’s a popular way to customize items like rings and can be used in art pieces as well.
Choosing the Right Tool for Engraving
Engraving metal requires the use of special tools. For most jobs, a rotary tool like a dremel is the best option for precision and control. You’ll also need engraving bits for the machine and cutting oils and lubricants for heat reduction and smoother operation.
Preparing the Metal
Before you start engraving, it’s critical to prepare the metal by cleaning it with soapy water or rubbing alcohol. This step will remove any dirt or residue that could interfere with the engraving process. After cleaning, you’ll need to pre-mark any guiding lines or outlines on the metal to keep your design straight.
Creating an Engraving Design
If you’re using a rotary tool to engrave your design, you’ll need to create a template first. This will help your tool stay on track while you’re working, so take the time to ensure it’s accurate and detailed. Once your template is done, you can place it on top of your metal and use it as a guide while engraving.
Engraving the Metal
Now it’s time to begin engraving your design into the metal. Make sure you have all of your supplies ready before starting and that your dremel is properly set up with an appropriate engraving bit for the job. Start by gently pressing down on the tool and following your pre-marked template line before increasing the pressure depending on how deep you’d like your design to be. Once finished, check for any accidental scrapes or excess material that needs to be removed from the design before continuing to the finishing touches.
Finishing Your Metal Engraving
At this point, all that’s left is to finish your metal engraving project. Use polishing mediums to buff out any excess grime or leftover particles from drilling into the metal surface. You can also use non-abrasive sprays or waxes to give your design an extra shine.
Conclusion
Engraving metal can be a daunting task at first, but with the right tools and techniques, it can become an enjoyable and rewarding process. With this complete DIY guide to engraving metal, you should now have a better understanding of the basics and be ready to start creating beautiful and unique pieces of art. Don’t be afraid to get creative, and make sure you have all the necessary equipment before starting. Good luck and happy engraving.
