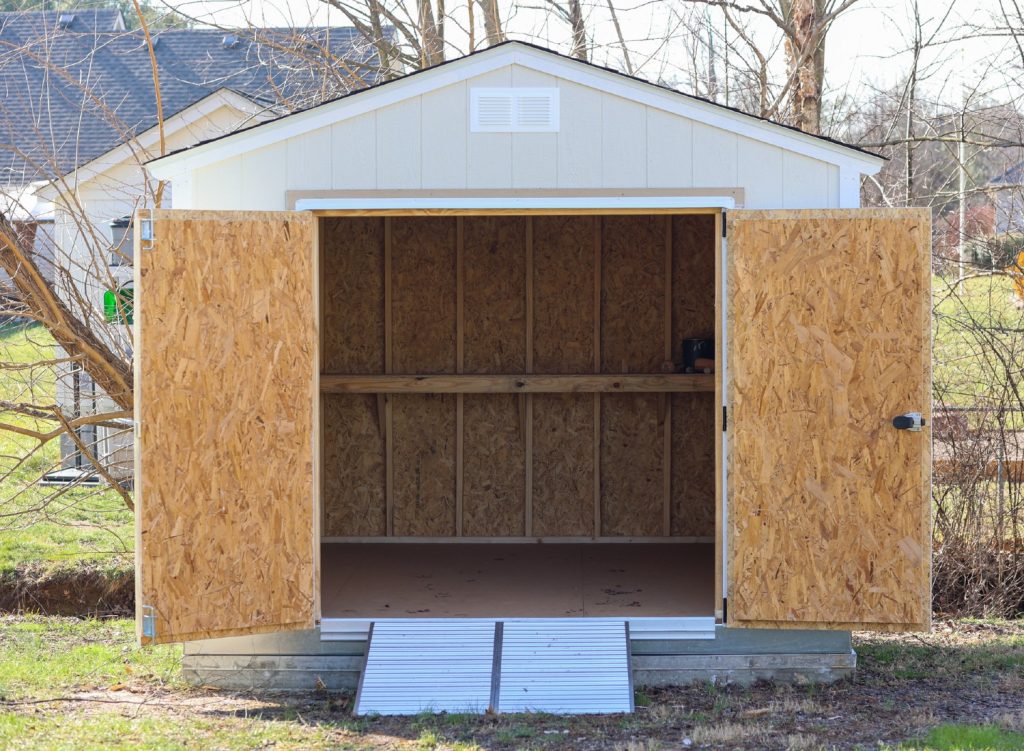
How to Build a Ramp for a Shed in Less Than a Day

Building a ramp for your shed is a practical project that can greatly enhance the functionality and accessibility of your outdoor storage space. You can construct a sturdy and reliable ramp with the right tools and materials in less than a day. This guide will take you through the steps to build a simple yet effective ramp for your shed, ensuring that moving items in and out is a breeze.
Understanding the Basics
Before you begin, it’s important to understand the basics of ramp construction. The ramp must be strong enough to handle the weight of whatever you plan to move over it, whether it’s a lawn mower, a wheelbarrow, or heavy gardening tools. The incline should be gentle enough to push items up and down without strain easily.
Materials and Tools Needed
- Pressure-treated lumber (2x4s and 2x6s)
- Plywood (3/4 inch thick)
- Galvanized screws (2 1/2 inch and 3 inch)
- Power saw or hand saw
- Measuring tape
- Level
- Shovel
- Gravel (optional for ground preparation)
Step 1: Plan and Measure
Start by measuring the height of the shed’s doorway from the ground. This will determine the length of your ramp—a typical rule of thumb is for every inch of height, you’ll need a foot of ramp length. For example, if your shed is 6 inches off the ground, you’ll need a 6-foot-long ramp. Plan the width of the ramp according to the width of the doorway.
Step 2: Prepare the Ground
Clear the area before the shed door and ensure it is level. If the ground is uneven, you may need to dig it out or add gravel to level it. A solid foundation is crucial for the stability of the ramp.
Step 3: Cut the Stringers
The stringers are the side supports for the ramp. Using your hand or power saw, cut the 2x6s to the length of your ramp. For each stringer, you’ll need to cut a notch at the top end to fit against the shed and a slope at the bottom to meet the ground. Use your measuring tape and level to ensure accuracy.
Step 4: Assemble the Frame
Lay the stringers parallel to each other, spaced as wide as the ramp will be. Cut 2x4s to serve as crosspieces and screw them into place between the stringers. These will add stability and support the weight of the ramp.
Step 5: Attach the Ramp to the Shed
Position the frame against the shed and ensure it’s level. Once you’re satisfied with the placement, screw the top of the stringers into the shed’s frame. This will anchor your ramp securely in place.
Step 6: Add the Ramp Surface
Cut the plywood to the size of your ramp using a hand or power saw. Lay the plywood on top of the frame and screw it into place. Ensure the surface is flush with the shed’s doorway for a smooth transition.
Step 7: Add Traction
It’s important to add traction to the ramp surface for safety, especially in wet or icy conditions. You can do this by attaching asphalt shingles, using non-slip paint, or screwing down strips of roofing felt.
Step 8: Finishing Touches
Inspect the ramp to ensure all screws are tightened, and the structure is stable. You might also want to treat the wood with a waterproof sealant to extend its life.
Conclusion
Building a ramp for your shed in less than a day is a straightforward DIY project that can make a big difference in the functionality of your outdoor space. With basic tools, including a reliable hand saw and some planning, you can create a durable and useful ramp that makes accessing your shed much easier. Not only does it add convenience, but it also enhances the safety of transporting items in and out of your shed. So, roll up your sleeves and get ready to transform your shed access with this practical and rewarding project.
