Woodturning on a Lathe: Everything You Need to Know Before You Start

- What is a Lathe?
- Essential Tools
- Wear Safety Gear
- Secure Your Workspace
- Selecting Wood Types
- Moisture Content
- Roughing Out the Blank
- Marking and Measuring
- Mastering Speed Control
- Understanding Grain Direction
- Sharpening Your Tools
- Sanding and Finishing
- Project Inspiration
- Dealing with Vibration
- Avoiding Tear-out
- Conclusion
- Related Posts
Woodturning on a lathe is an age-old craft that marries precision with creativity, allowing enthusiasts to transform raw wood into exquisite, functional art. The rhythmic hum of the lathe, the scent of freshly turned wood, and the satisfaction of crafting something beautiful from scratch are all part of the allure. Whether you’re a seasoned woodworker or a newcomer to the world of turning, understanding the fundamentals is essential.
In this comprehensive guide, we’ll delve into the intricacies of woodturning, from the anatomy of the lathe to safety measures, wood selection, and advanced techniques. So, before you set your chisels to the spinning wood, let’s explore everything you need to know to embark on a rewarding wood-turning journey.
What is a Lathe?
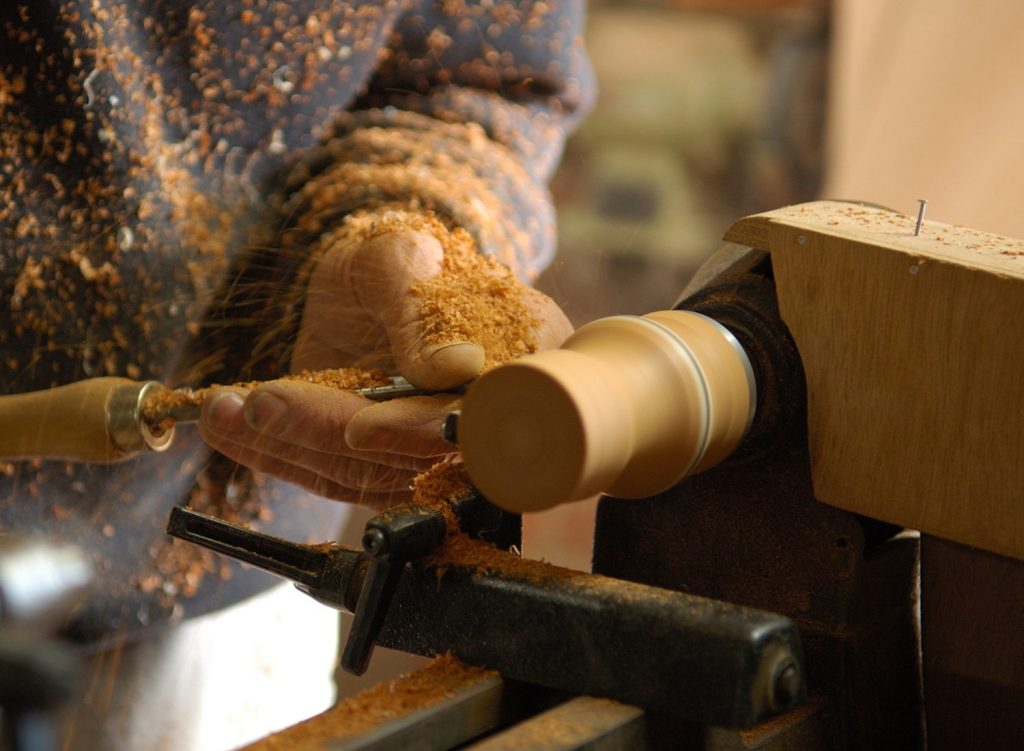
The wood lathe is the centerpiece of woodturning. It consists of a motor that spins the wood, allowing you to shape it with various cutting tools. Lathes come in different sizes and styles, so choose one that suits your needs and available space. Benchtop lathes are ideal for beginners due to their compact size.
Essential Tools
Familiarize yourself with the basic woodturning tools:
Gouges: Used for roughing and shaping.
Chisels: Ideal for fine detailing and finishing.
Skew chisels: Perfect for creating smooth surfaces.
Parting tools: Used for separating the finished piece from the lathe.
Wear Safety Gear
Prioritize safety by wearing protective gear such as safety glasses, a face shield, and ear protection. Wood chips and debris can be hazardous, and the lathe’s spinning motion demands precaution.
Secure Your Workspace
Set up your workspace with ample lighting and sufficient ventilation. Ensure that the lathe is on a stable surface and that you have adequate room to move around. Keep distractions to a minimum, focusing on the task at hand.
Selecting Wood Types
Different woods offer distinct characteristics, colors, and grain patterns. Due to their forgiving nature, beginners often find softer woods like pine or cedar easier to work with. As you gain expertise, experiment with hardwoods like maple, oak, or cherry for more intricate projects.
Moisture Content
Green or wet wood is easier to turn but can warp as it dries. Dry wood is stable but may be more challenging to work. Strive for a balance by letting green wood dry slightly before turning.
Roughing Out the Blank
Start with a roughly shaped piece of wood, known as a blank. Secure it firmly on the lathe using a spur drive and tailstock. Roughing out involves shaping the basic form of your project before refining the details.
Marking and Measuring
Use a pencil to mark key points on your blank, helping guide your turning. Measure and mark the dimensions of your intended project to maintain symmetry and proportion.
Mastering Speed Control
Adjust the lathe speed according to the task at hand. Higher speeds suit finer details, while lower speeds work well for roughing out and shaping. Experiment with different speeds to find what works best for your project.
Understanding Grain Direction
Pay attention to the grain direction of the wood. Turning against the grain can result in tear-out, affecting the quality of your work. Work with the natural flow of the grain for smoother cuts.
Sharpening Your Tools
Sharp tools are essential for clean cuts. Regularly sharpen and hone your tools to maintain their effectiveness. A dull tool not only makes the process more challenging but can also compromise safety.
Sanding and Finishing
Once you achieve the basic shape, sand the wood to remove tool marks and achieve a smooth surface. Choose a finish that enhances the wood’s natural beauty and provides protection. Common finishes include wax, oil, or lacquer.
Project Inspiration
Begin with simple projects like a bowl or a spindle and gradually progress to more intricate designs. Online resources and woodturning communities can provide inspiration and guidance.
Dealing with Vibration
Excessive vibration can affect the quality of your turning. Check for lathe stability, secure your blank properly, and ensure your tools are sharp. Experiment with lathe speed to find a balance that minimizes vibration.
Avoiding Tear-out
Tear-out occurs when the wood fibers are pulled out instead of cleanly cut. To minimize tear-out, sharpen your tools, adjust cutting angles, and pay attention to the direction of the grain.
Conclusion
Embarking on the journey of woodturning can be immensely fulfilling, but it’s crucial to start with a solid understanding of the basics. By familiarizing yourself with the tools, safety measures, wood selection, and essential techniques, you’ll be well-equipped to create beautiful turned objects. Remember, patience and practice are key to mastering the art of woodturning. So, roll up your sleeves, grab your tools, and let the lathe guide you into the world of craftsmanship.
